Faults Report
The Faults report lists the observations recorded during an inspection and provides a visual review of the defects and conditions identified while inspecting the pipe.
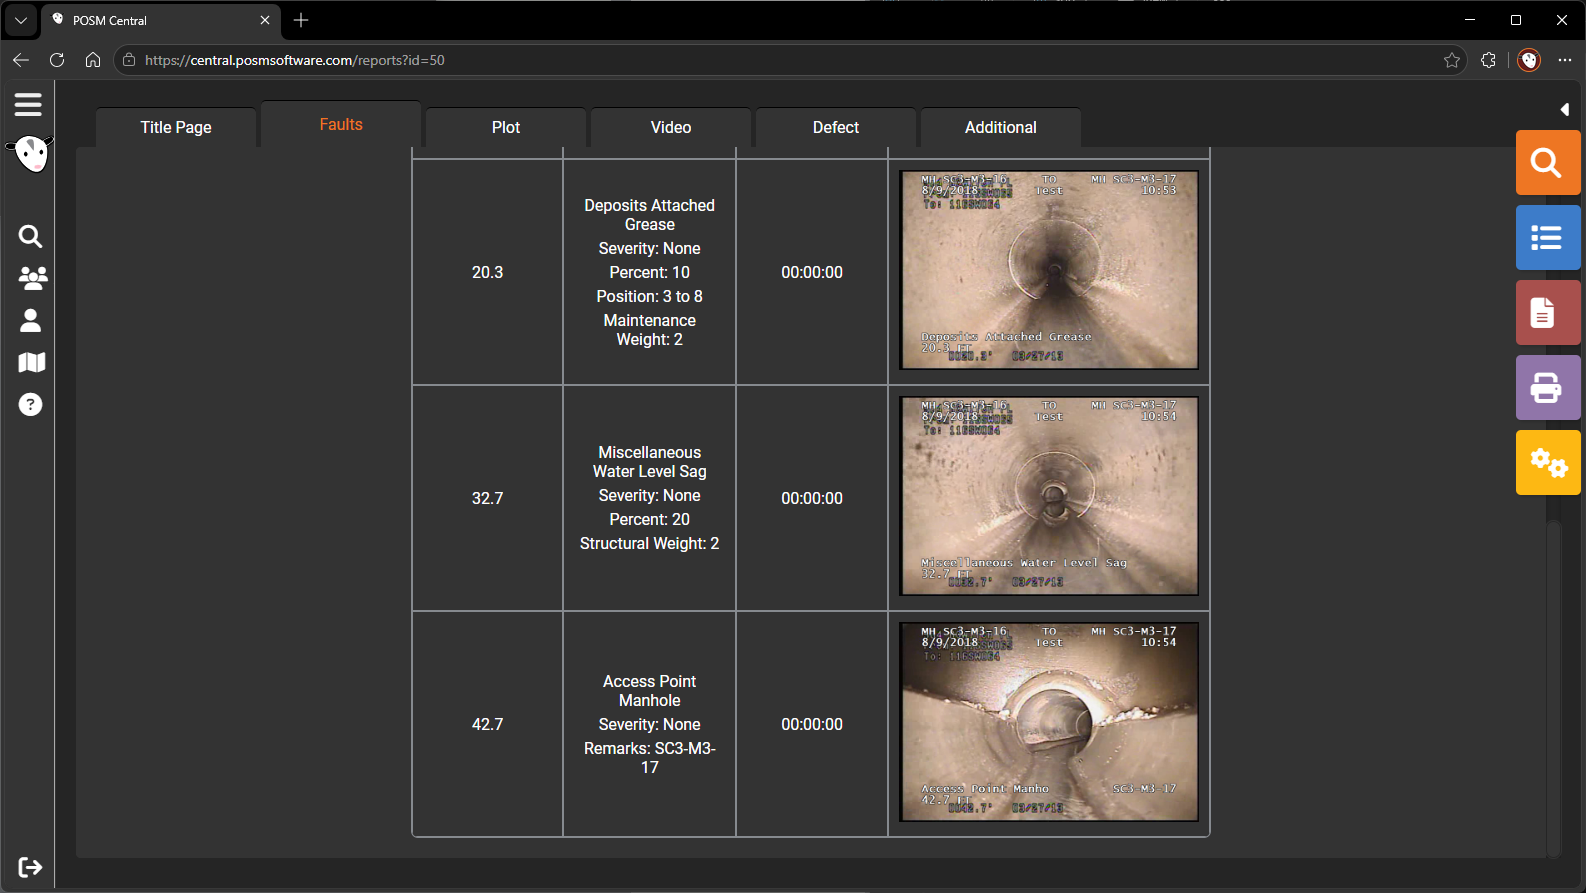
Open the Faults Report
- Open Session Management.
- Select an inspection.
- Select Open Reports.
- Select the Faults tab.
Information Shown
Depending on the inspection template and the selected report settings, the Faults report may include:
- Observation code
- Observation description
- Inspection footage or distance
- Video time
- Clock position
- Severity
- Dimensions
- Joint information
- Structural weight
- Maintenance weight
- Comments
- Observation images
- Optional inspection fields
The exact information shown depends on the inspection template, the recorded observation data, and the report settings.
Observation Order and Location
Observations are generally displayed in the order in which they occur during the inspection.
The report helps users understand:
- Where each observation occurred in the pipe
- When the observation occurred in the inspection video
- Which image is associated with the observation
- The recorded severity and measurements
- The structural or maintenance significance of the observation
Observation Images
When an image is associated with an observation, it may appear with the related fault information.
Picture display can also be controlled through the Faults Report Settings window.
Change Faults Report Settings
While viewing the Faults report, select the yellow Report Settings button on the left side of the screen.
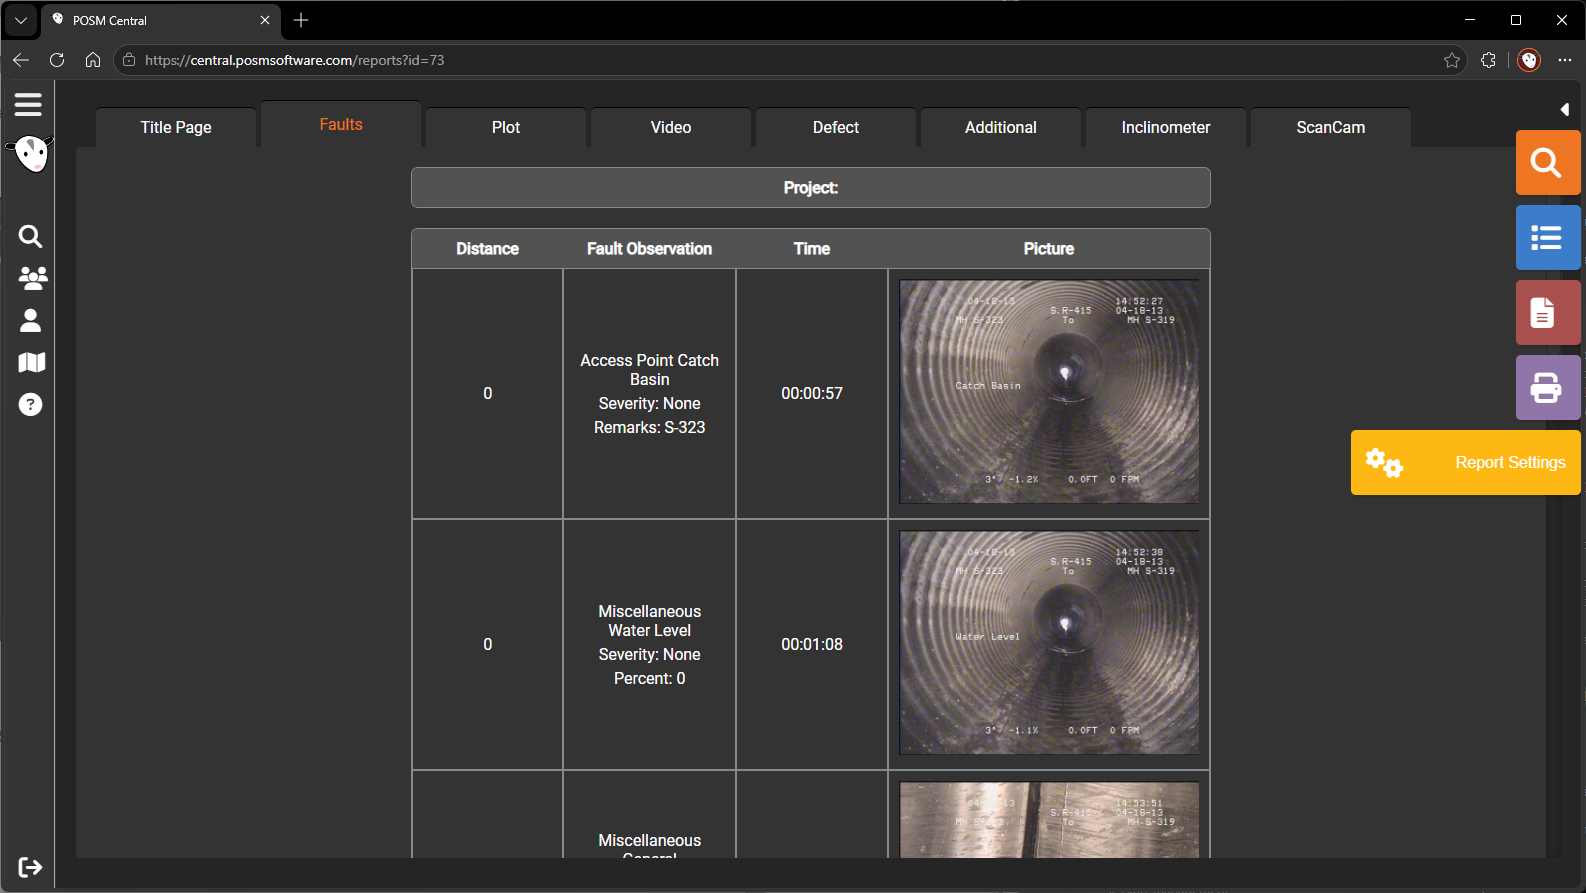
The Report Settings window allows authorized users to control which information and pictures appear in the report.
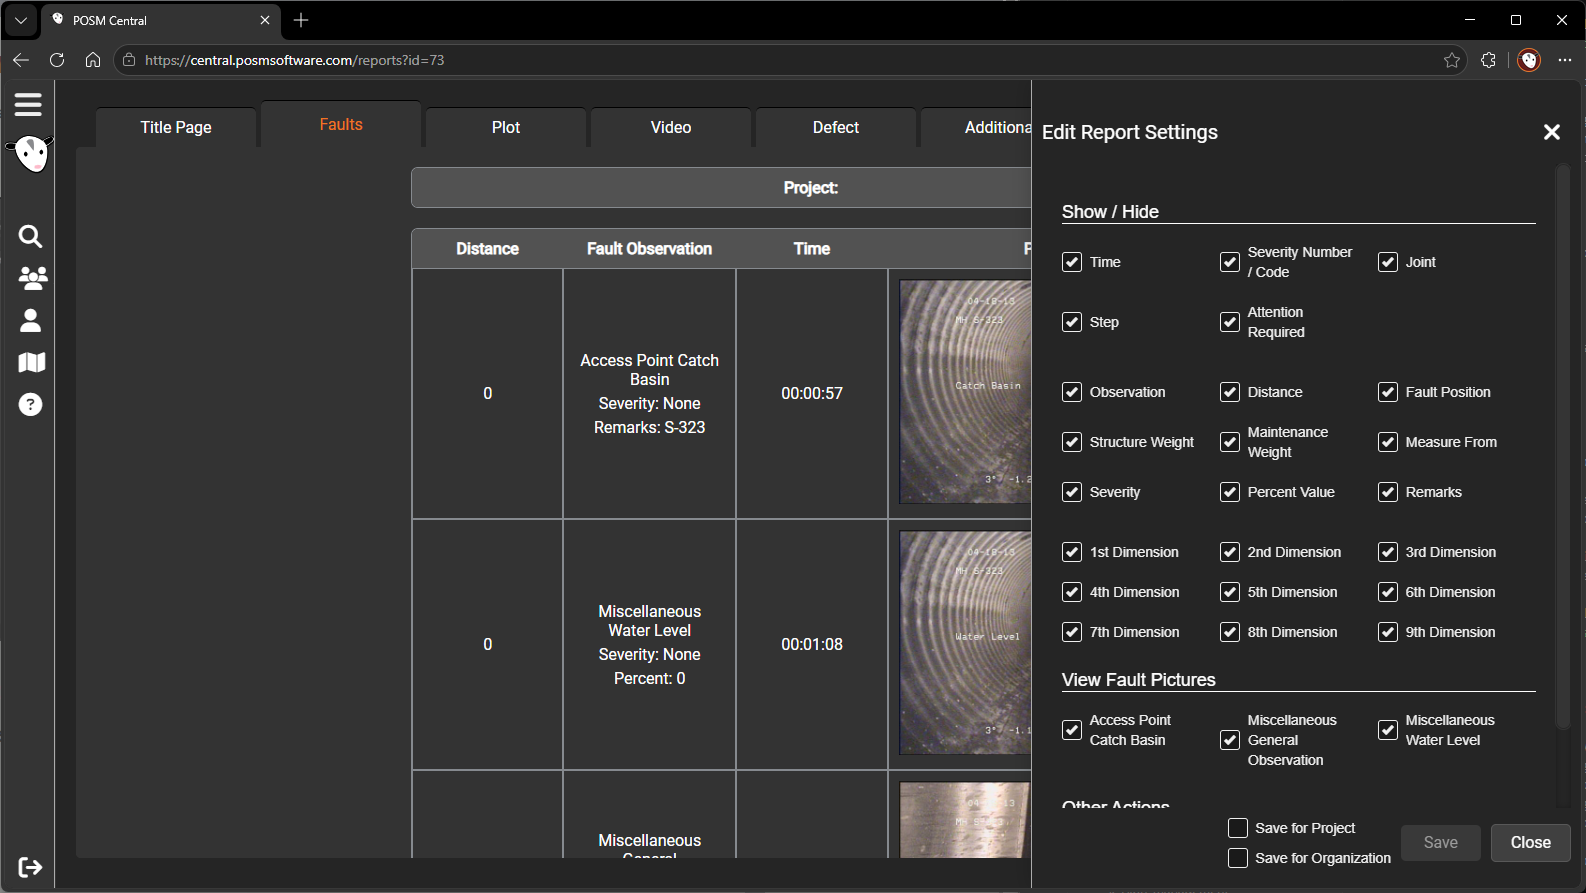
Show or Hide Report Fields
Use the checkboxes in the Report Settings window to show or hide report information.
Available fields may include:
- Time
- Severity Score
- Joint
- Step
- Attention Required
- Observation
- Distance
- Fault Position
- Structural Weight
- Maintenance Weight
- Measure From
- Severity
- Percent Value
- Remarks
- Optional Field 1
- Optional Field 2
- Optional Field 3
- Optional Field 4
- Optional Field 5
- Optional Field 6
- Optional Field 7
- Optional Field 8
- Optional Field 9
Selecting a field displays it in the report. Clearing a field removes it from the report.
Show or Hide Selected Observation Pictures
The Report Settings window also allows users to control whether pictures are displayed for certain observation types.
Picture display can be turned on or off for:
- Access Point Catch Basin
- Miscellaneous General Observation
- Miscellaneous Water Level
Use these options to reduce unnecessary images or include additional visual documentation in the report.
Sort the Report by Time
Select Sort by Time to organize the Faults report according to the time each observation occurs in the inspection video.
When this option is not selected, the report uses its normal observation or distance-based order.
Save Report Settings
At the bottom of the same Report Settings window, near the Save and Cancel buttons, are two checkboxes that determine where the selected preferences are saved.
Save for Project
Select the Save for Project checkbox to apply the report settings to the current project.
Use this option when a particular customer, contract, or project requires a report layout that differs from the organization default.
Save for Organization
Select the Save for Organization checkbox to apply the report settings as the organization-wide default.
This allows an authorized user to create a consistent Faults report layout for the organization.
Important
Selecting Save for Organization changes the default Faults report settings for the entire organization. Review the selected fields, picture options, and sorting preference before saving.
Save or Cancel
After selecting the report options:
- Select Save to apply and save the settings.
- Select Cancel to close the window without saving changes.
Project-level settings allow a particular project to use a report layout that differs from the organization default.
Correct an Observation
Fault information is edited through Edit Observations, not from the report viewer.
- Return to Session Management.
- Select the inspection.
- Select Edit Observations.
- Enter edit mode when required.
- Select the observation.
- Make the necessary changes.
- Save the observation.
- Reopen the Faults report.
Learn how to edit observations