Organization Settings
POSM Central organization settings are available from User Settings.
Organization settings allow authorized users to manage the organization's logo and two-factor authentication setting.
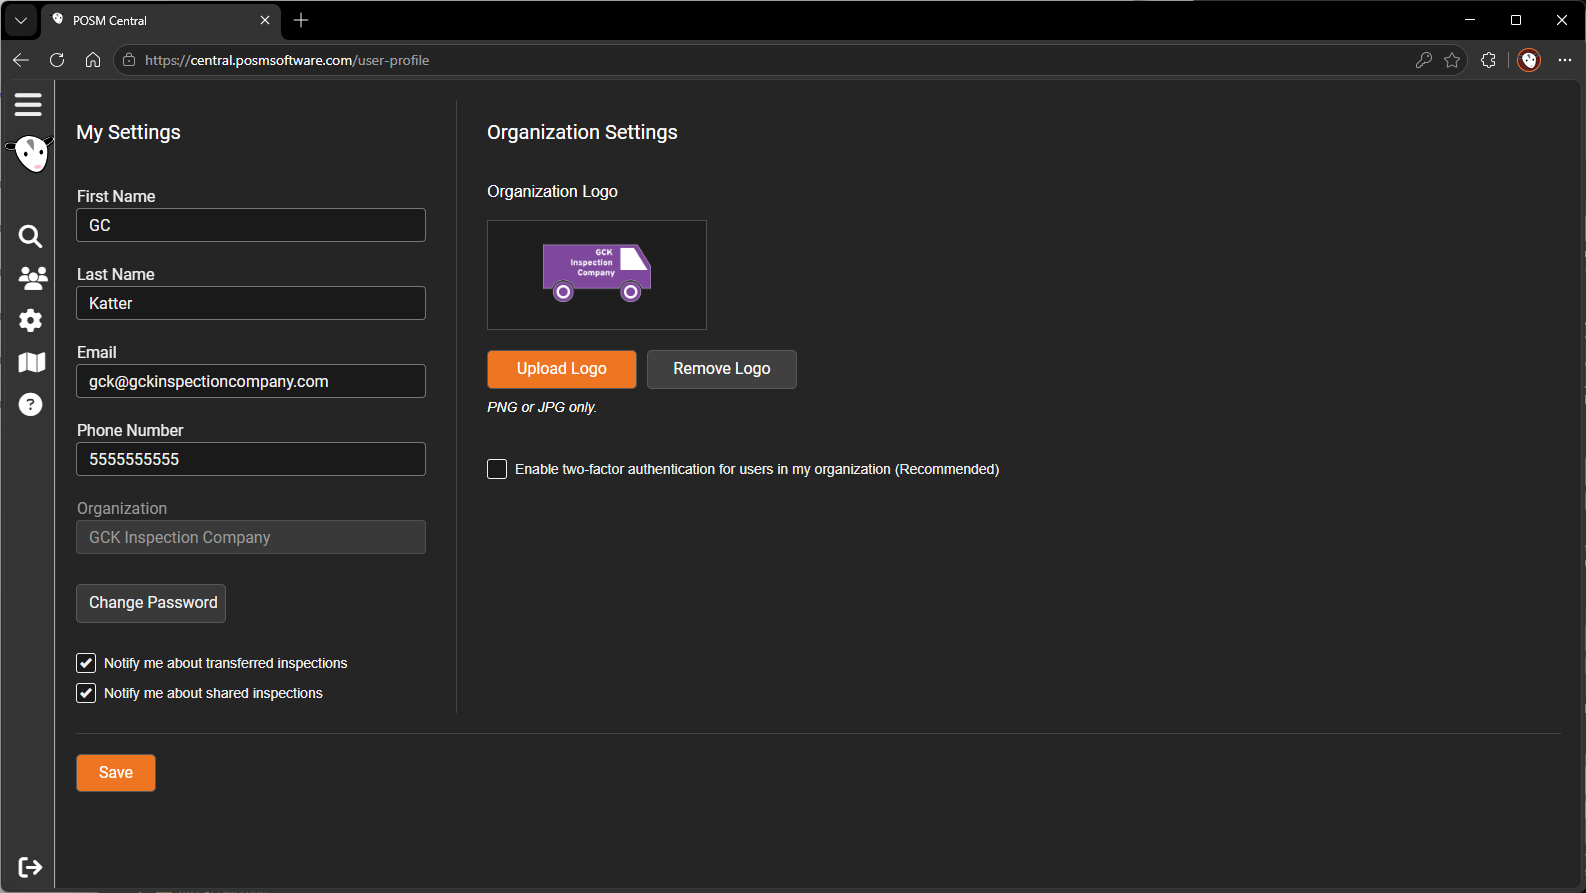
Open Organization Settings
- Sign in to POSM Central.
- Select User Settings from the left navigation menu.
The page contains two areas:
- My Settings — personal account information and notification preferences
- Organization Settings — settings that apply to the organization
Organization Settings appears on the right side of the page.
Personal and organization settings are different
My Settings contains settings for the individual user.
Organization Settings contains settings that affect the POSM Central organization.
Organization Logo
An organization logo can be uploaded from Organization Settings.
Supported image formats are:
- PNG
- JPG
If no logo has been uploaded, the Organization Settings area appears without an organization logo.
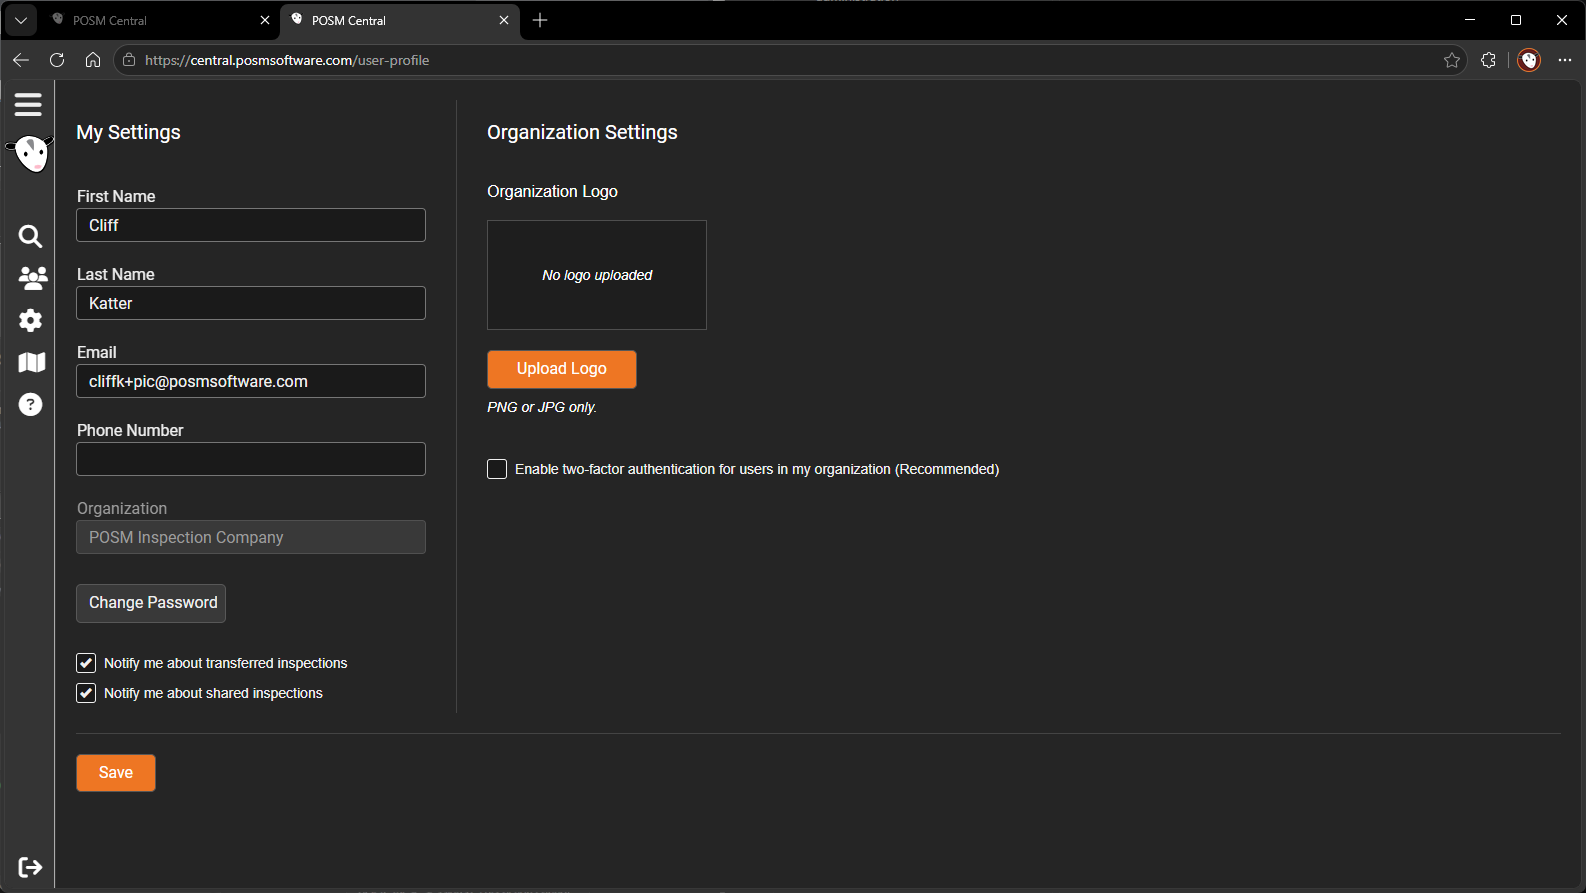
Upload an Organization Logo
To add an organization logo:
- Open User Settings.
- Locate Organization Settings.
- Click Upload Logo.
The Upload Organization Logo window opens.
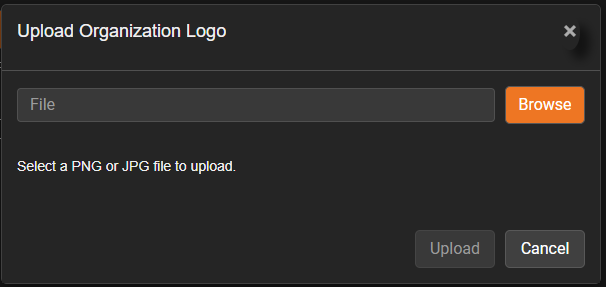
- Click Browse.
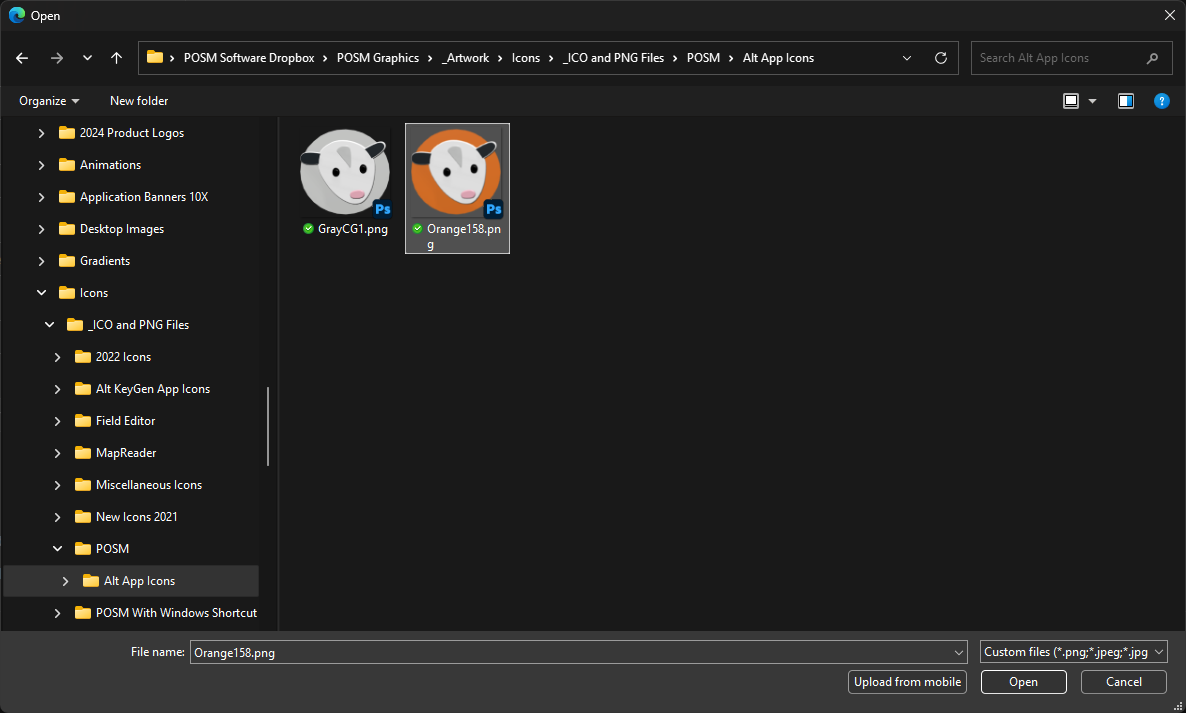
A Windows file-selection window opens.
- Navigate to the location containing your organization logo.
- Select the desired PNG or JPG image.
- Double-click the image or click Open.
POSM Central opens the image-cropping screen.
Crop the Logo
Before uploading the logo, select the portion of the image that should be displayed.
- Drag and position the crop box over the desired area of the image.
- Adjust the crop until the logo appears as desired.
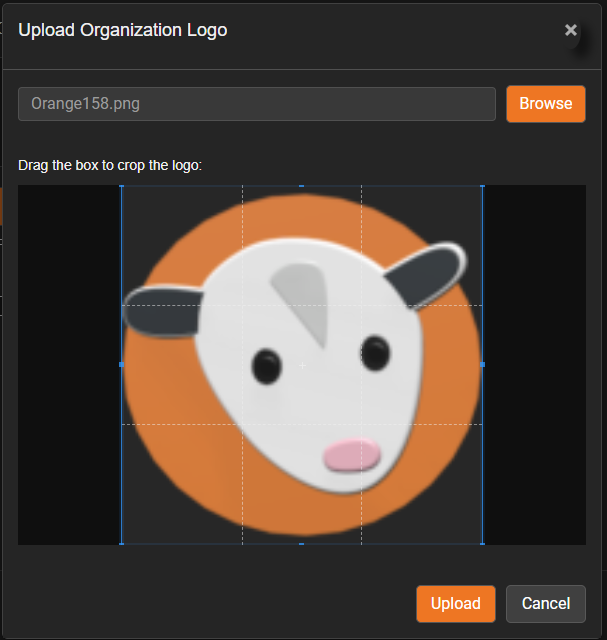
- Click Upload to complete the process.
Click Cancel if you want to stop without uploading the image.
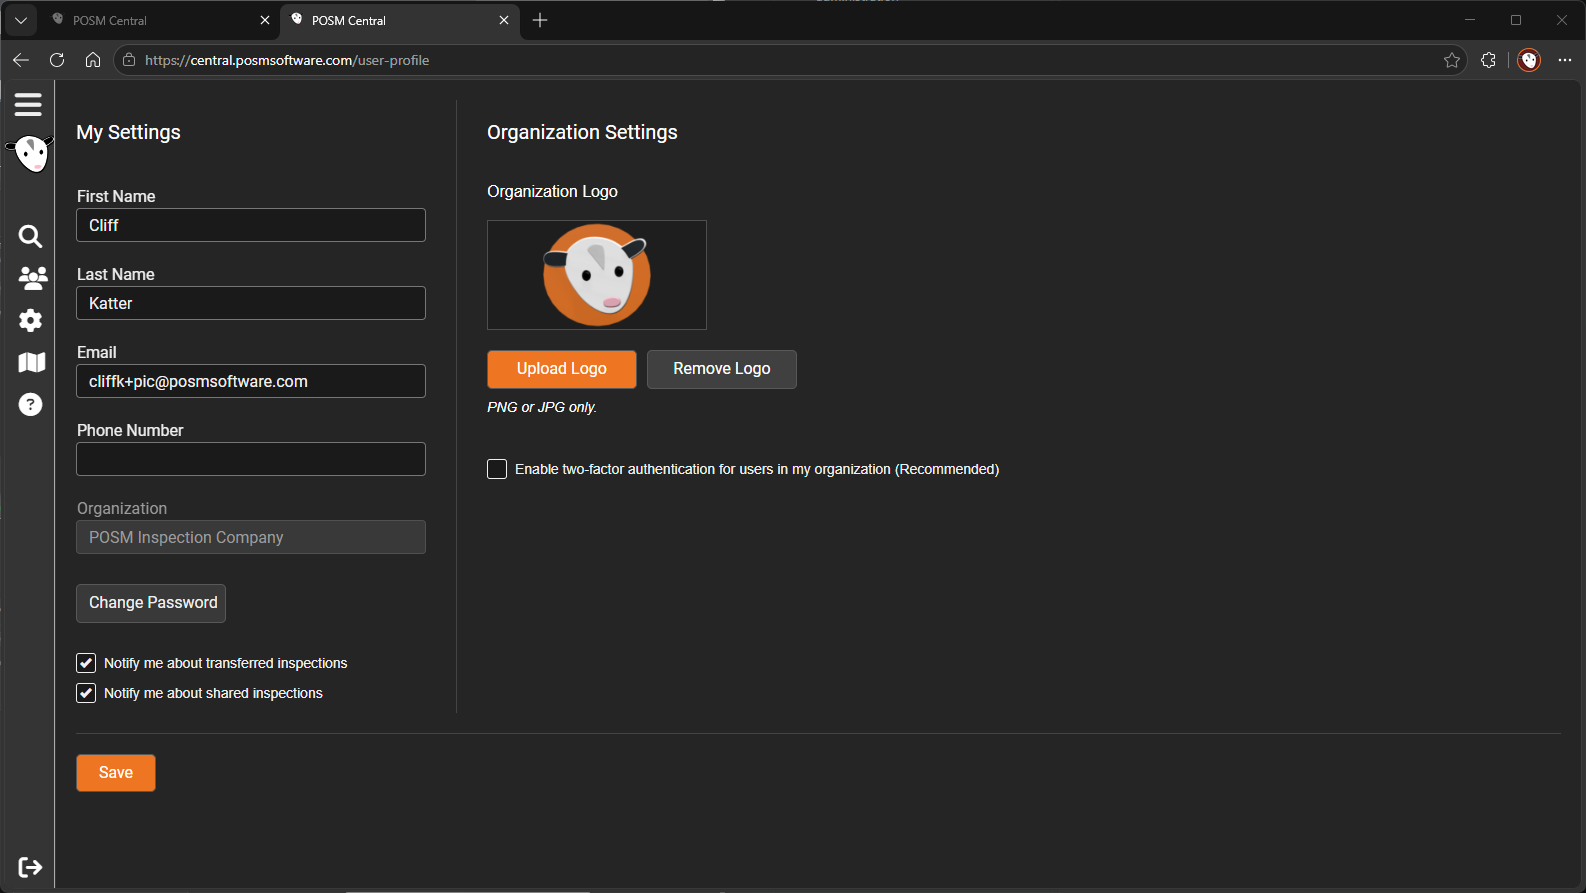
After the upload is complete, the new logo appears in Organization Settings.
Check the cropped logo
Review the logo after uploading it to make sure the desired portion of the image is visible.
If necessary, remove the logo and upload it again with a different crop.
Change the Organization Logo
To use a different organization logo, remove the current logo and then upload the replacement.
- Open User Settings.
- Locate Organization Settings.
- Click Remove Logo.
- Confirm the removal.
- Click Upload Logo.
- Select and crop the replacement image.
- Click Upload.
Remove the Organization Logo
To remove the current organization logo:
- Open User Settings.
- Locate Organization Settings.
- Click Remove Logo.
POSM Central asks you to confirm that you want to remove the organization logo.
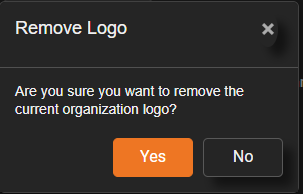
- Confirm the removal to continue.
The logo is removed from Organization Settings.
Cancel without making a change
Use Cancel when available if you do not want to complete the upload or removal operation.
Two-Factor Authentication
Organization Settings also controls whether users in the organization are required to use two-factor authentication.
The setting is:
Enable two-factor authentication for users in my organization (Recommended)
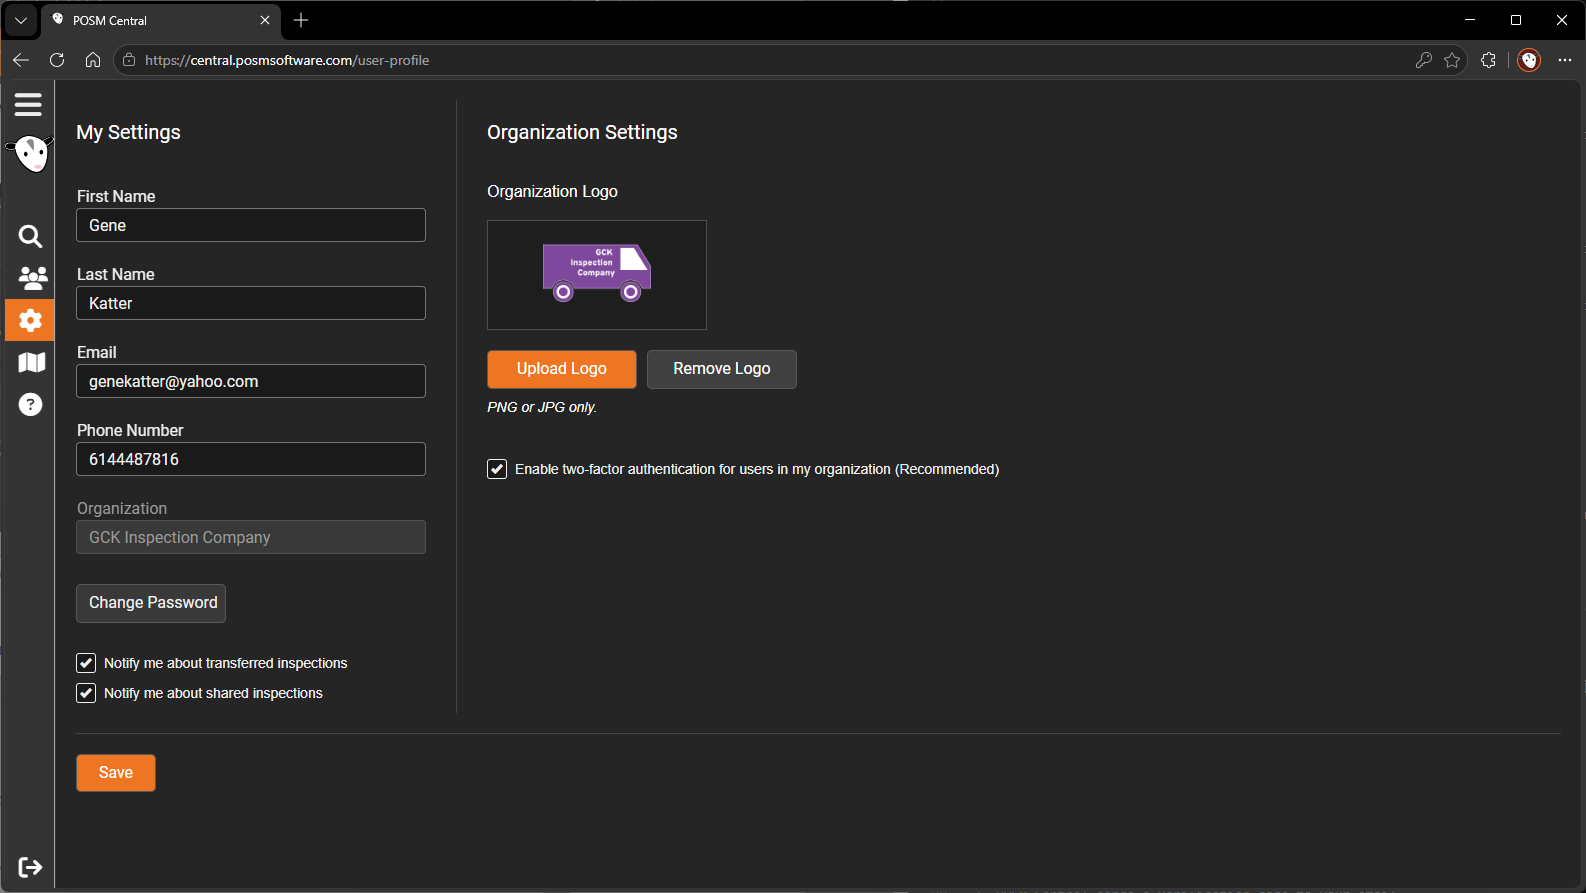
When enabled, users complete an additional verification step after entering their email address and password.
POSM Central sends a login code to the email address associated with the user's account. The user enters that code to complete the sign-in.
Two-Factor Authentication Instructions
Who Can Change Two-Factor Authentication?
The ability to change the organization's two-factor authentication setting depends on the user's role.
| User Role | Change Organization 2FA |
|---|---|
| Organization Admin | Yes |
| Edit User | Yes |
| View & Download User | No |
This setting affects the organization
Enabling or disabling two-factor authentication affects users in the organization.
It is not an individual user's personal two-factor authentication setting.
Enable Two-Factor Authentication
To enable two-factor authentication:
- Open User Settings.
- Locate Organization Settings.
-
Select Enable two-factor authentication for users in my organization (Recommended).
-
Click Save.
Users in the organization will be required to complete the email verification step when signing in.
Disable Two-Factor Authentication
To disable two-factor authentication:
- Open User Settings.
- Locate Organization Settings.
-
Clear Enable two-factor authentication for users in my organization (Recommended).
-
Click Save.
Users in the organization will no longer be required to complete the additional email-code verification step when signing in.
My Settings
The left side of the User Settings page contains the current user's personal settings.
These include:
- First Name
- Last Name
- Phone Number
- Change Password
- Notify me about transferred inspections
- Notify me about shared inspections
These settings are documented separately because they apply to the individual user rather than the organization.