View or Edit Inspection Headers
Use Edit Headers to review or update the identifying and descriptive information associated with an inspection.
Header information may include asset details, project information, pipe characteristics, inspection conditions, locations, operator information, and other fields required by the selected inspection template.
Open the Header Editor
- Open Session Management.
- Locate the inspection.
- Select the checkbox beside the inspection.
- Select Edit Headers.
- Review the available tabs and fields.
No Begin Editing step is required
Users with editing permission can make changes directly in the Header Editor.
Begin Editing is used in Edit Observations and is not required when editing inspection headers.
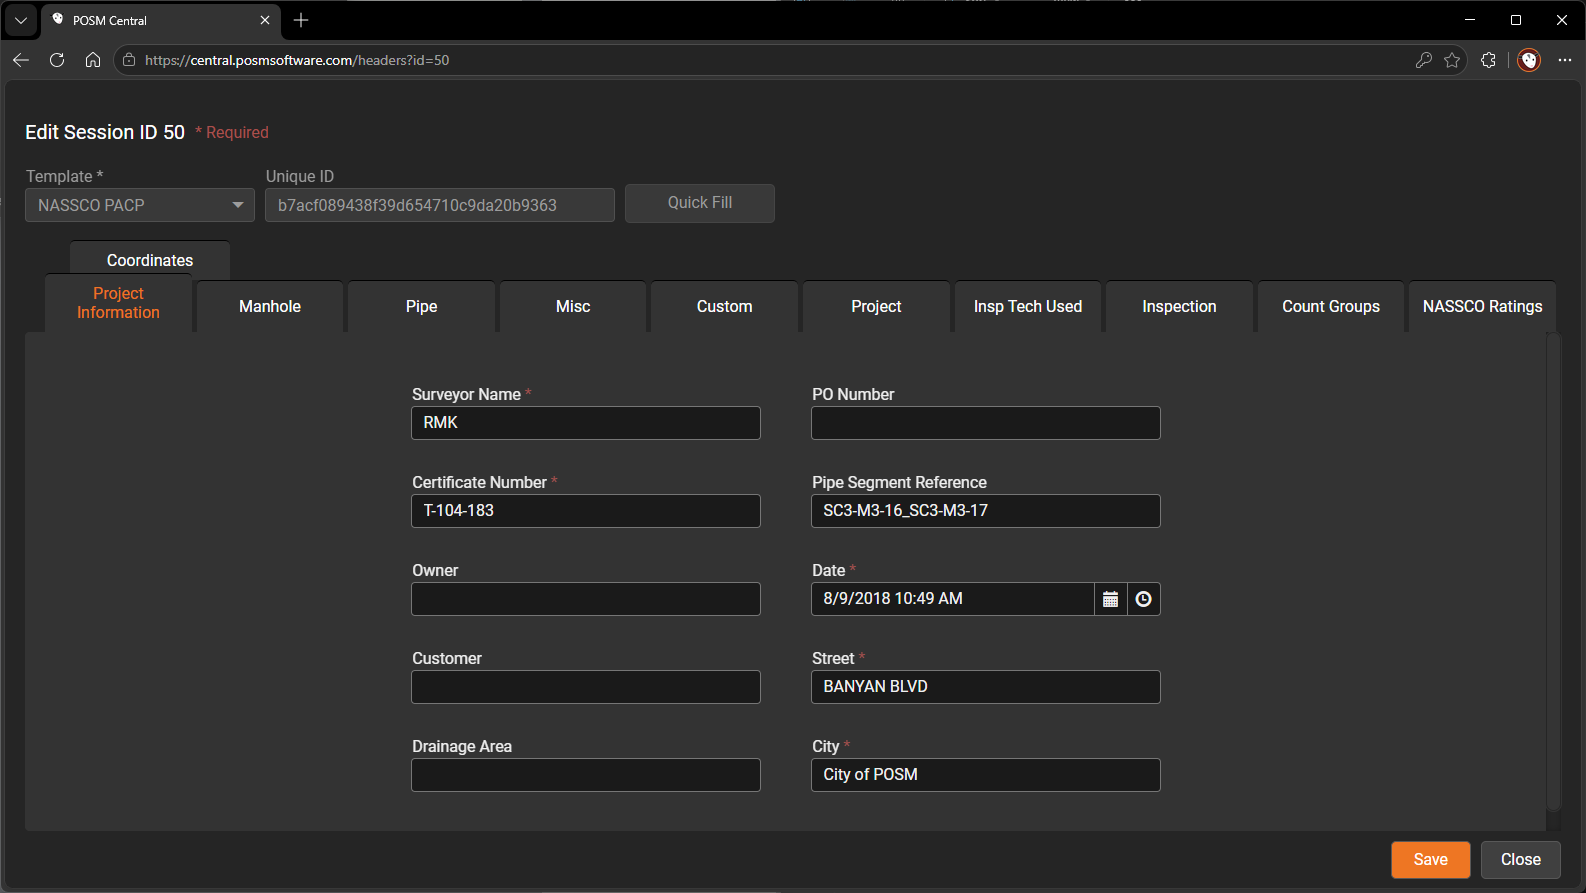
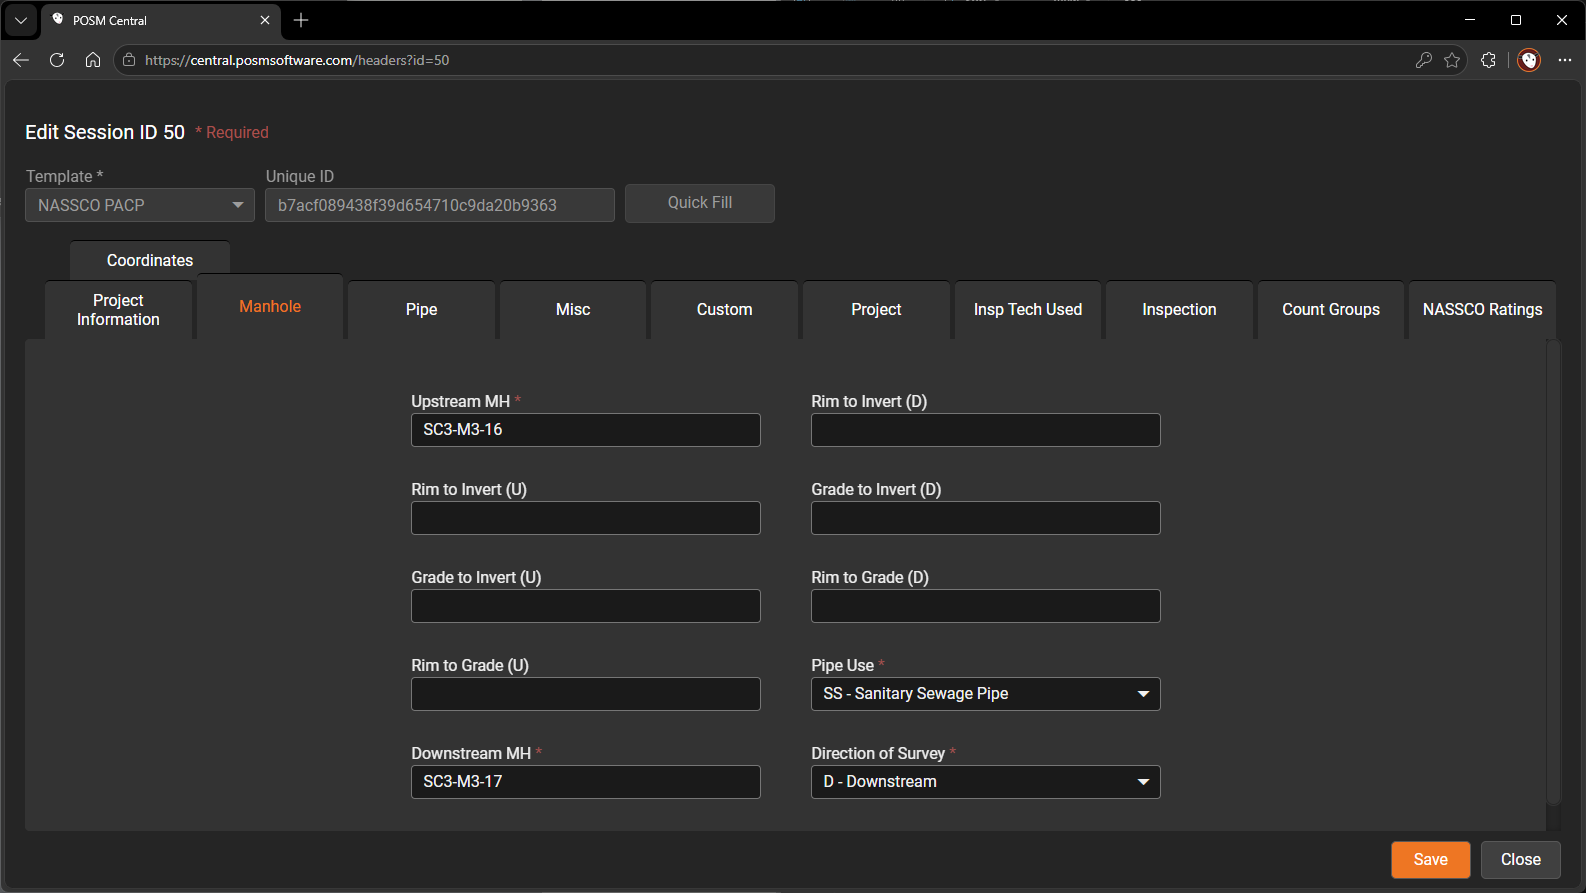
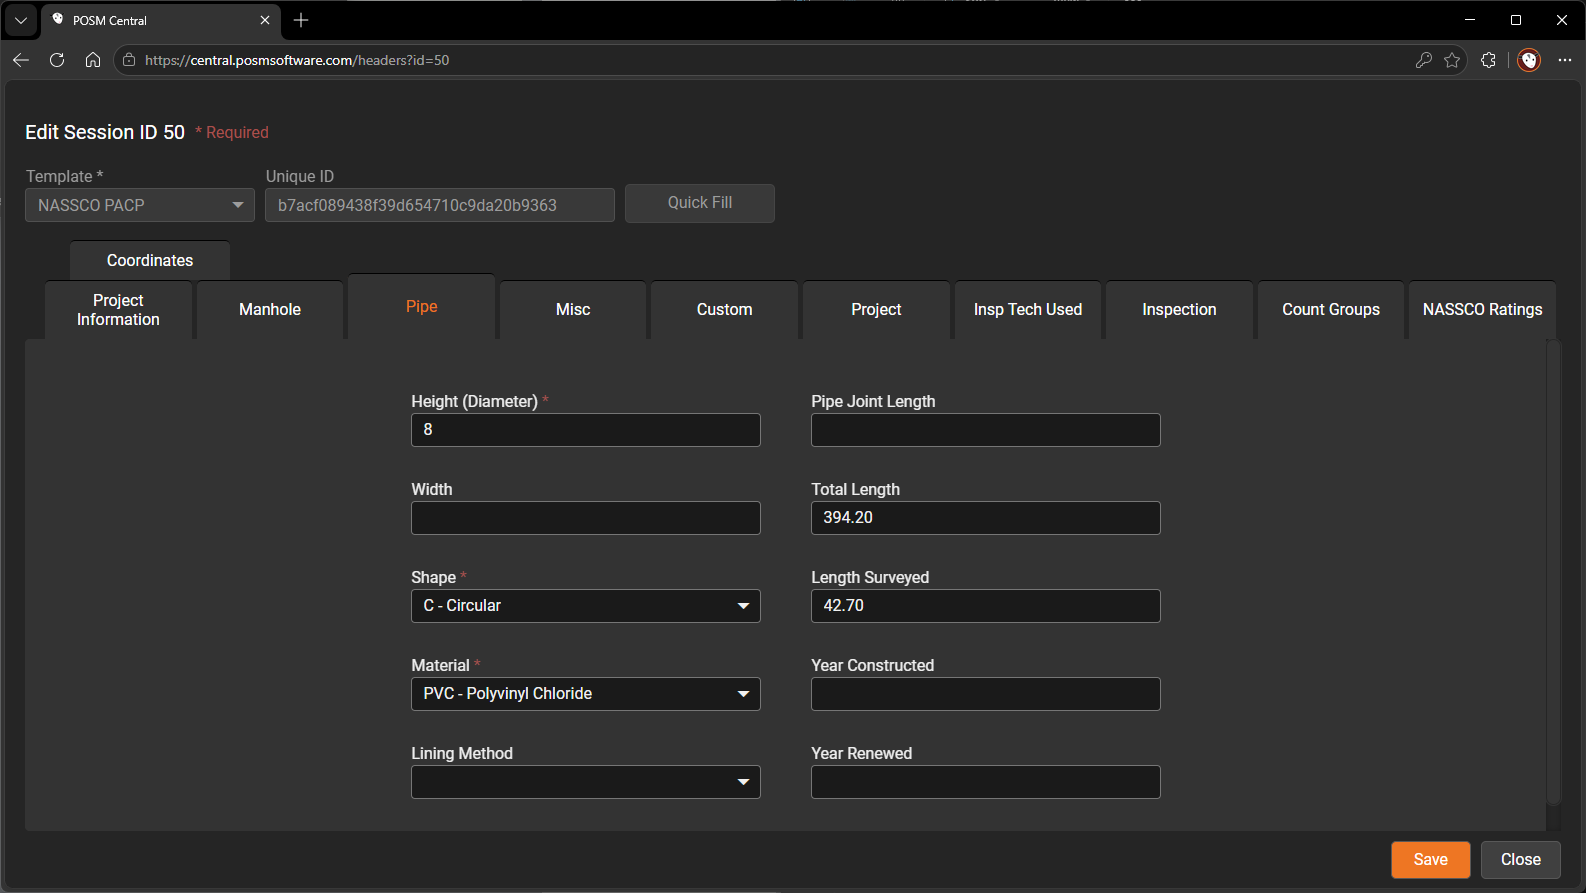
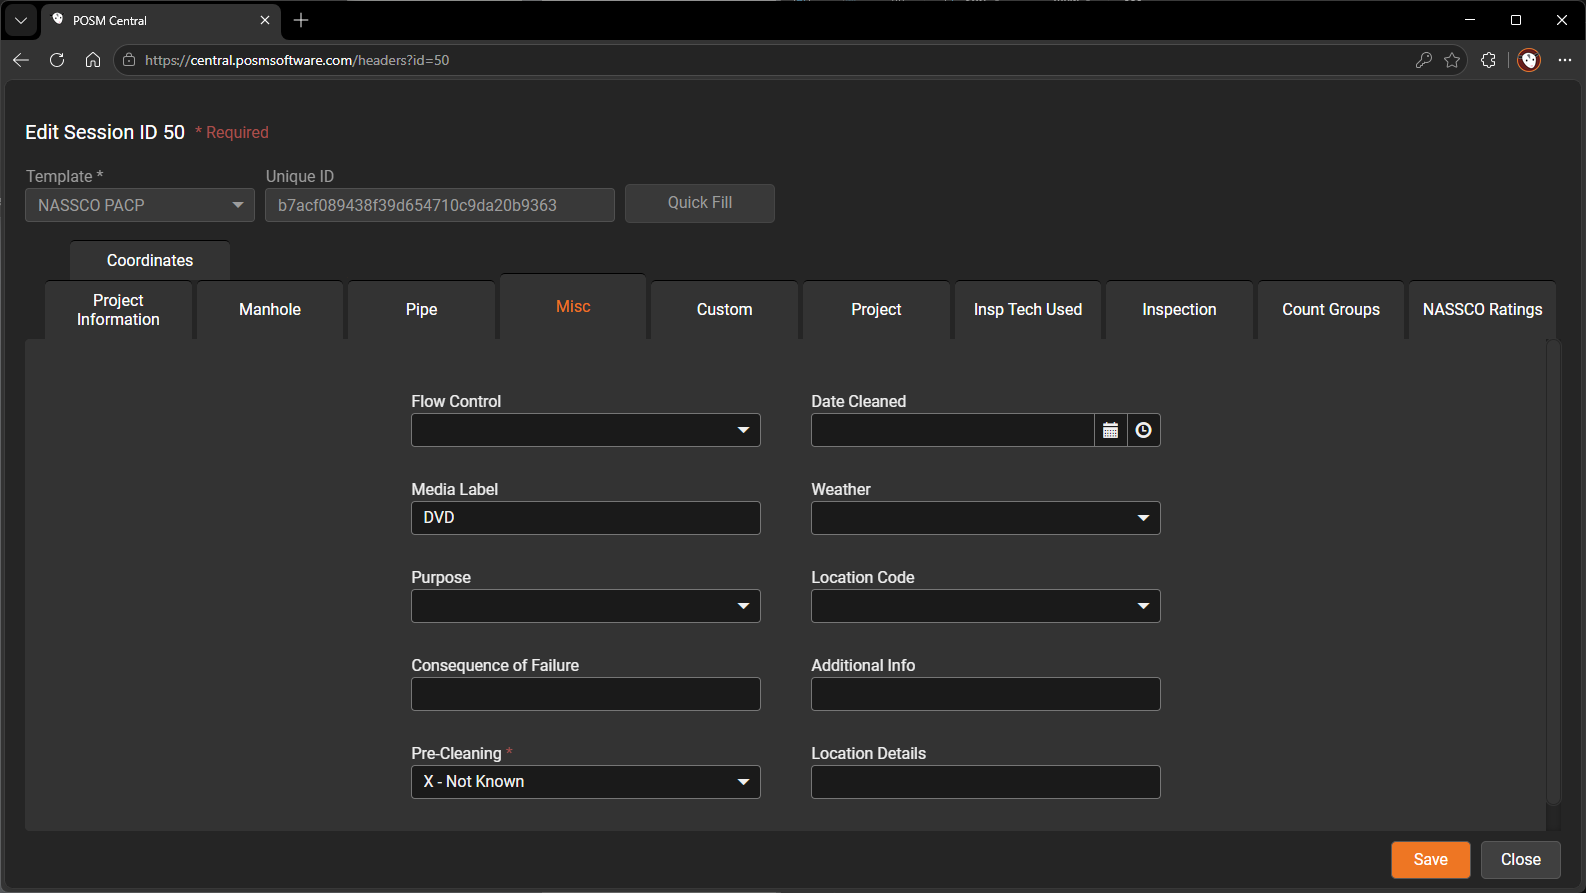
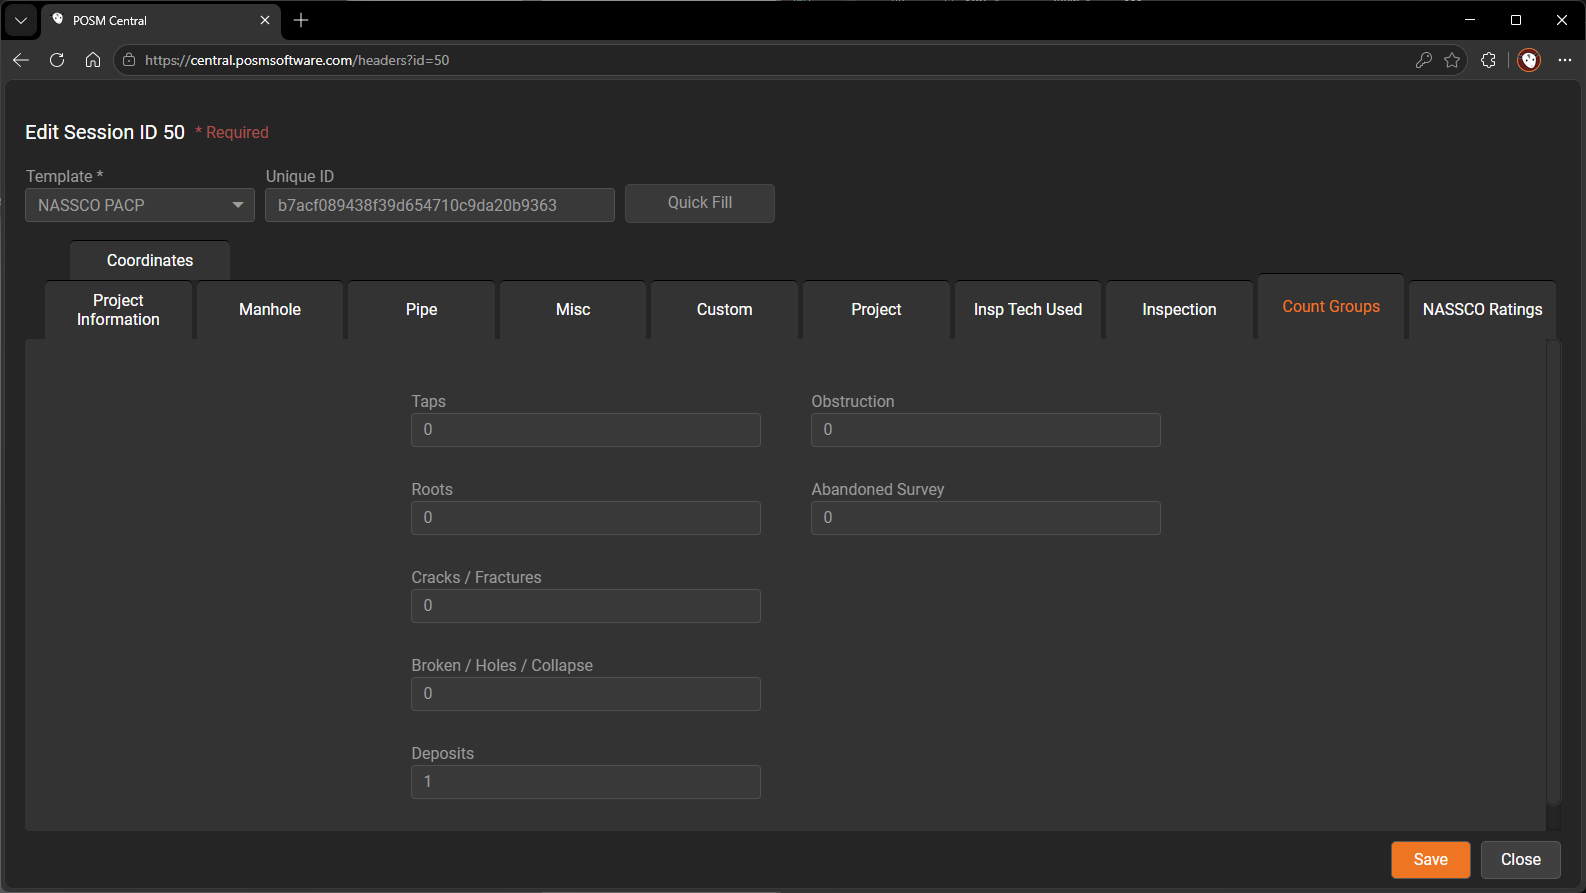
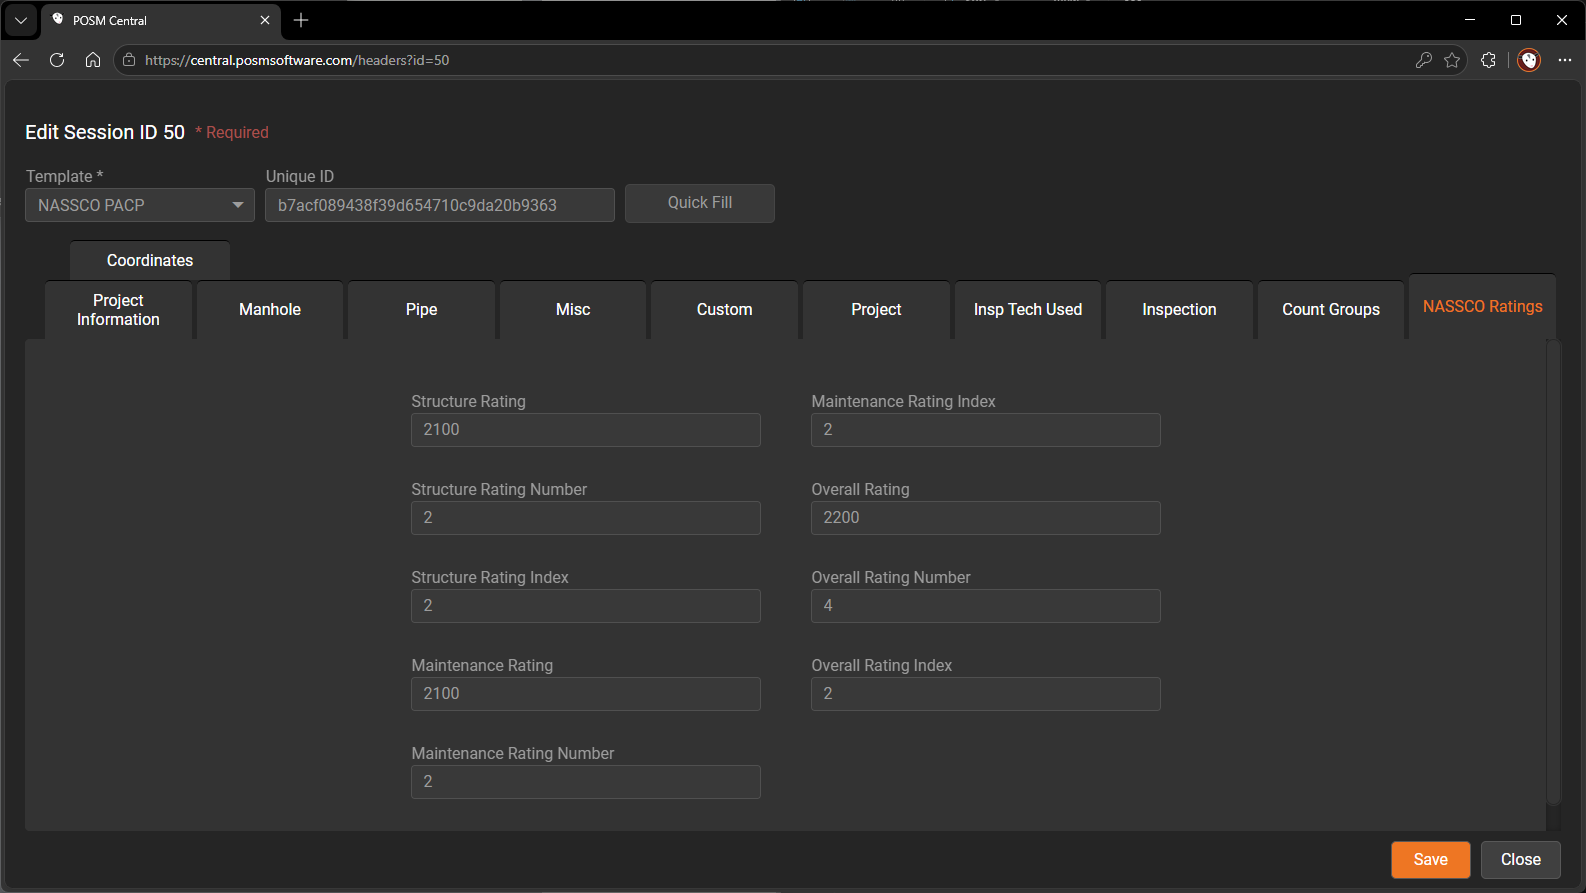
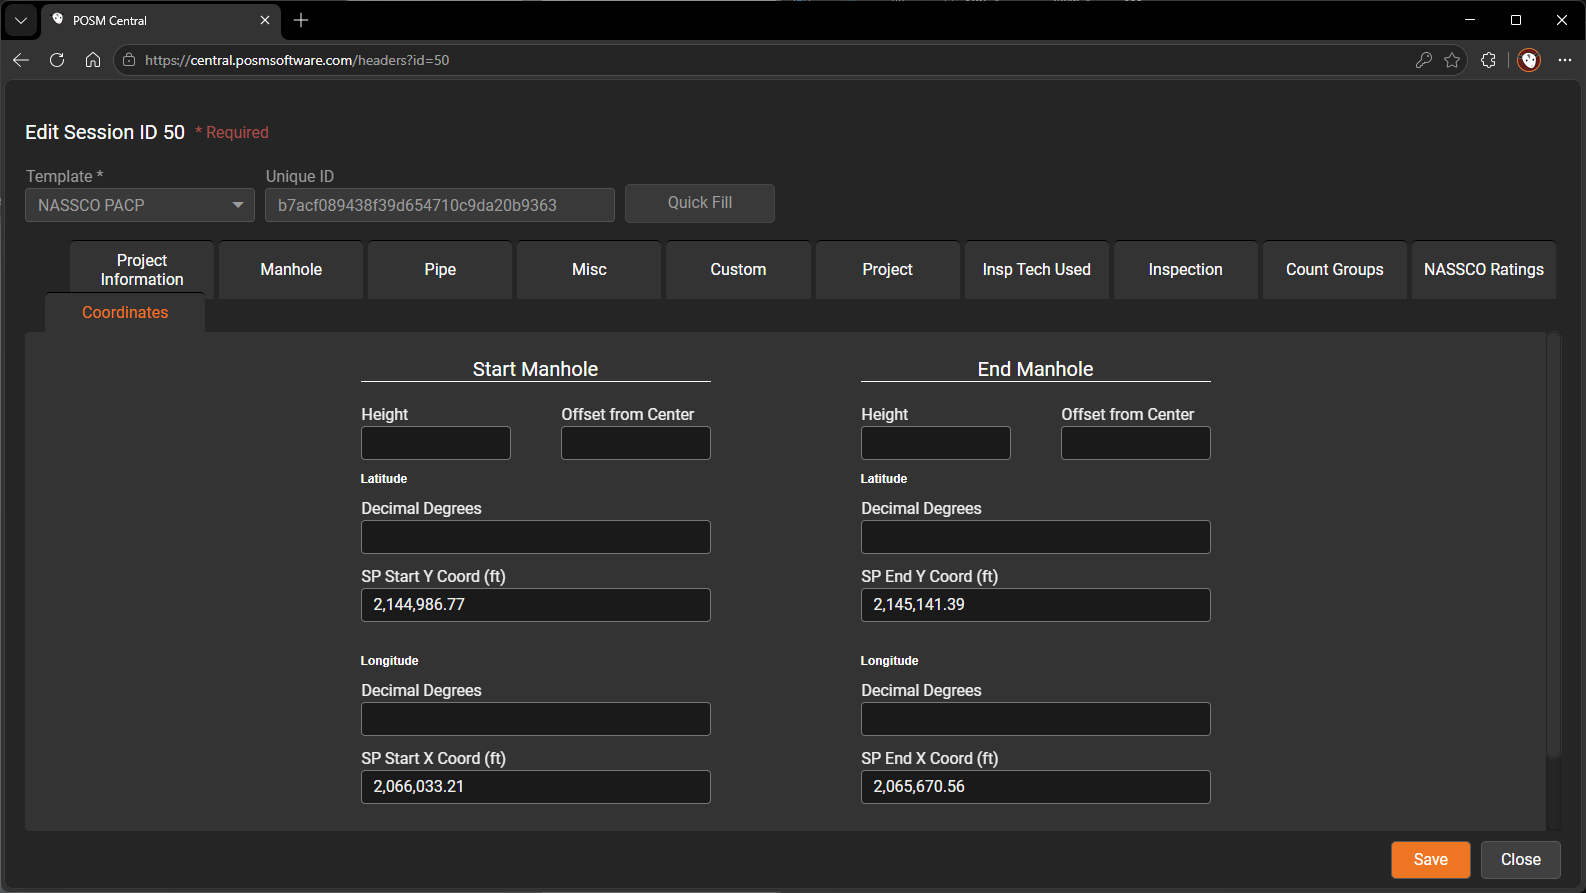
Edit Headers Screen Gallery
Select the image below to open the complete Edit Headers gallery.
Use the left and right arrows to move through all 11 screens. You can also use the arrow keys on your keyboard.
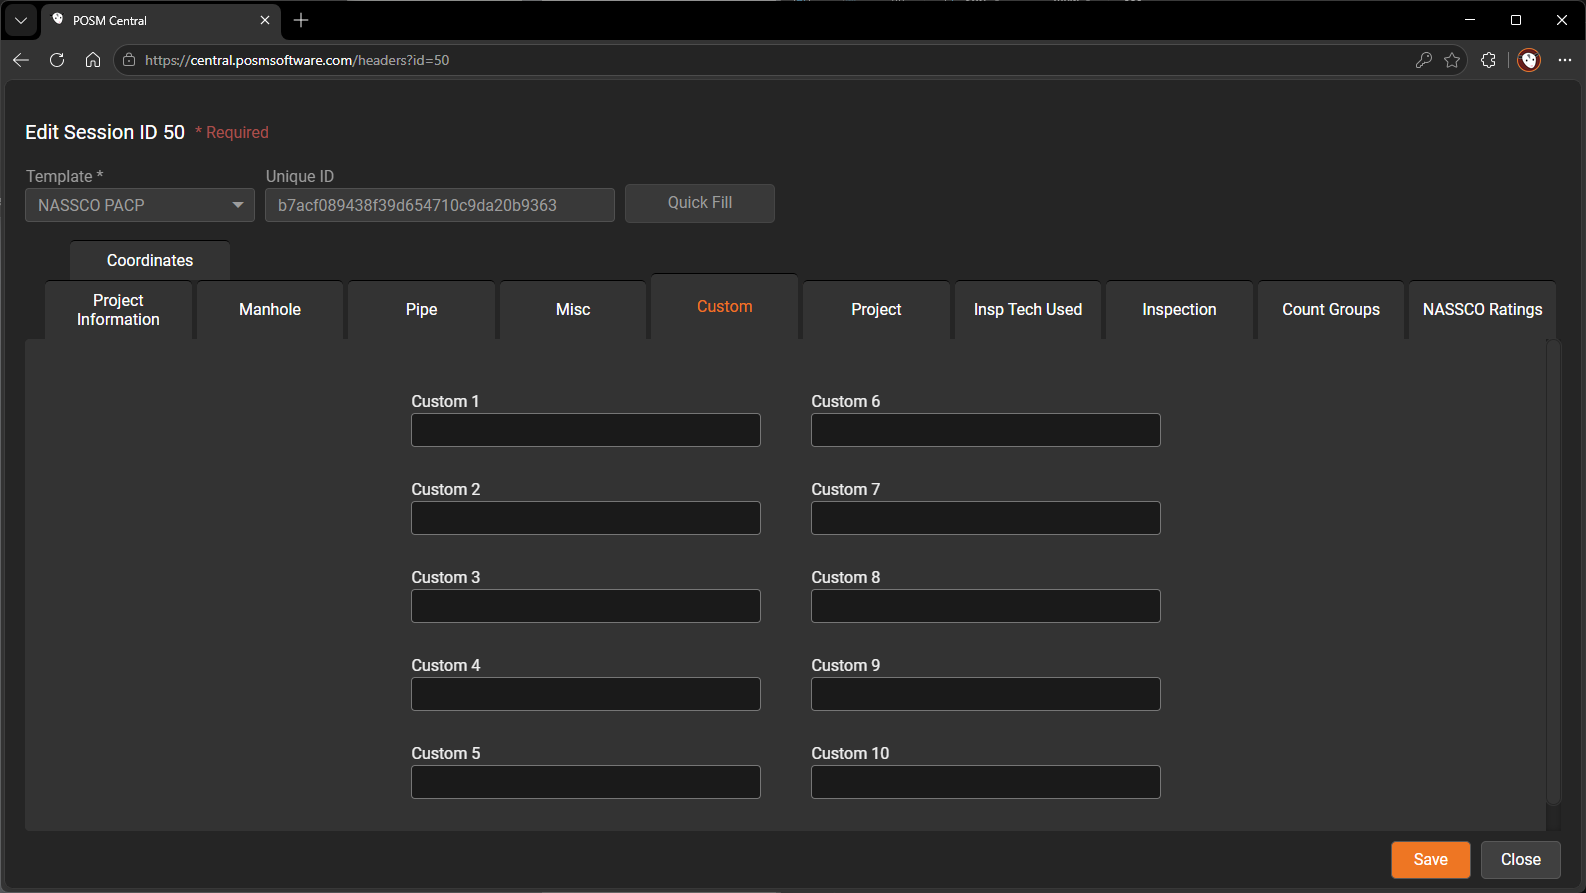
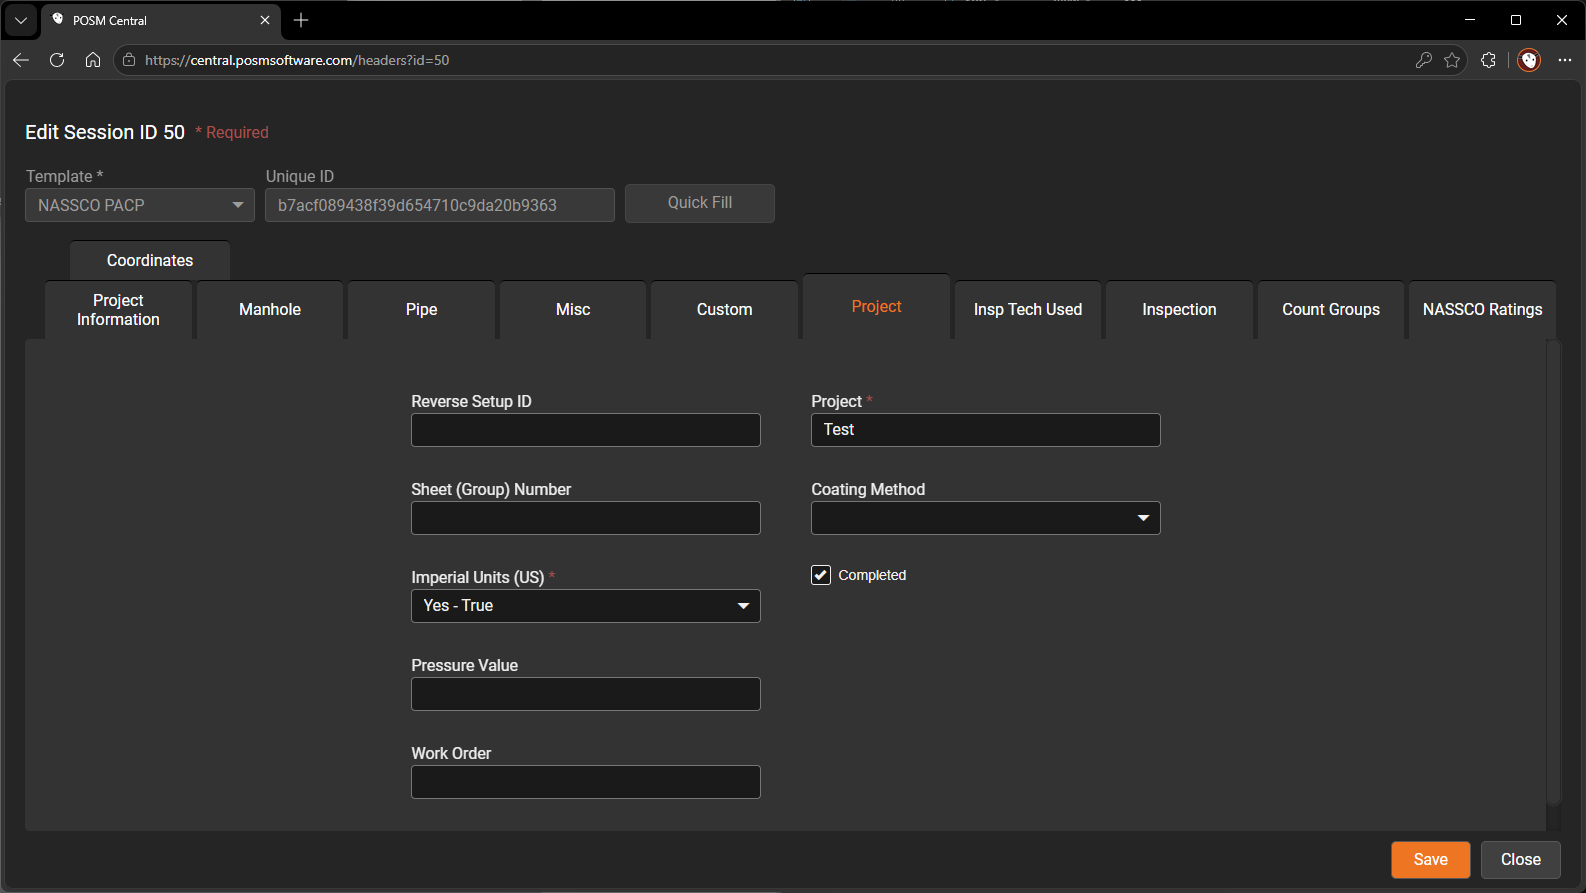
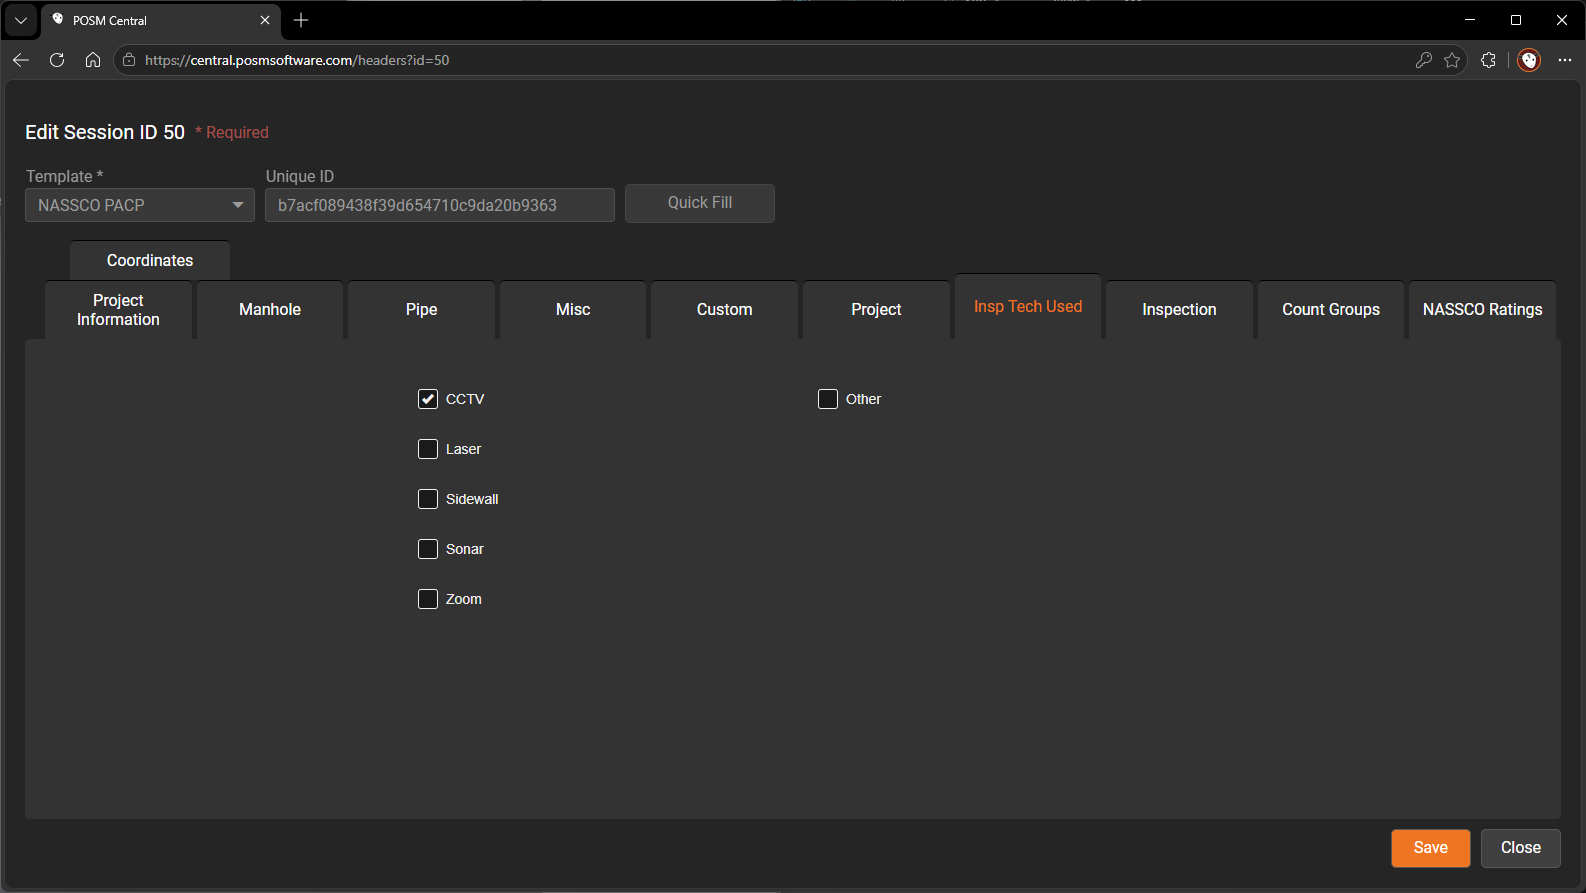
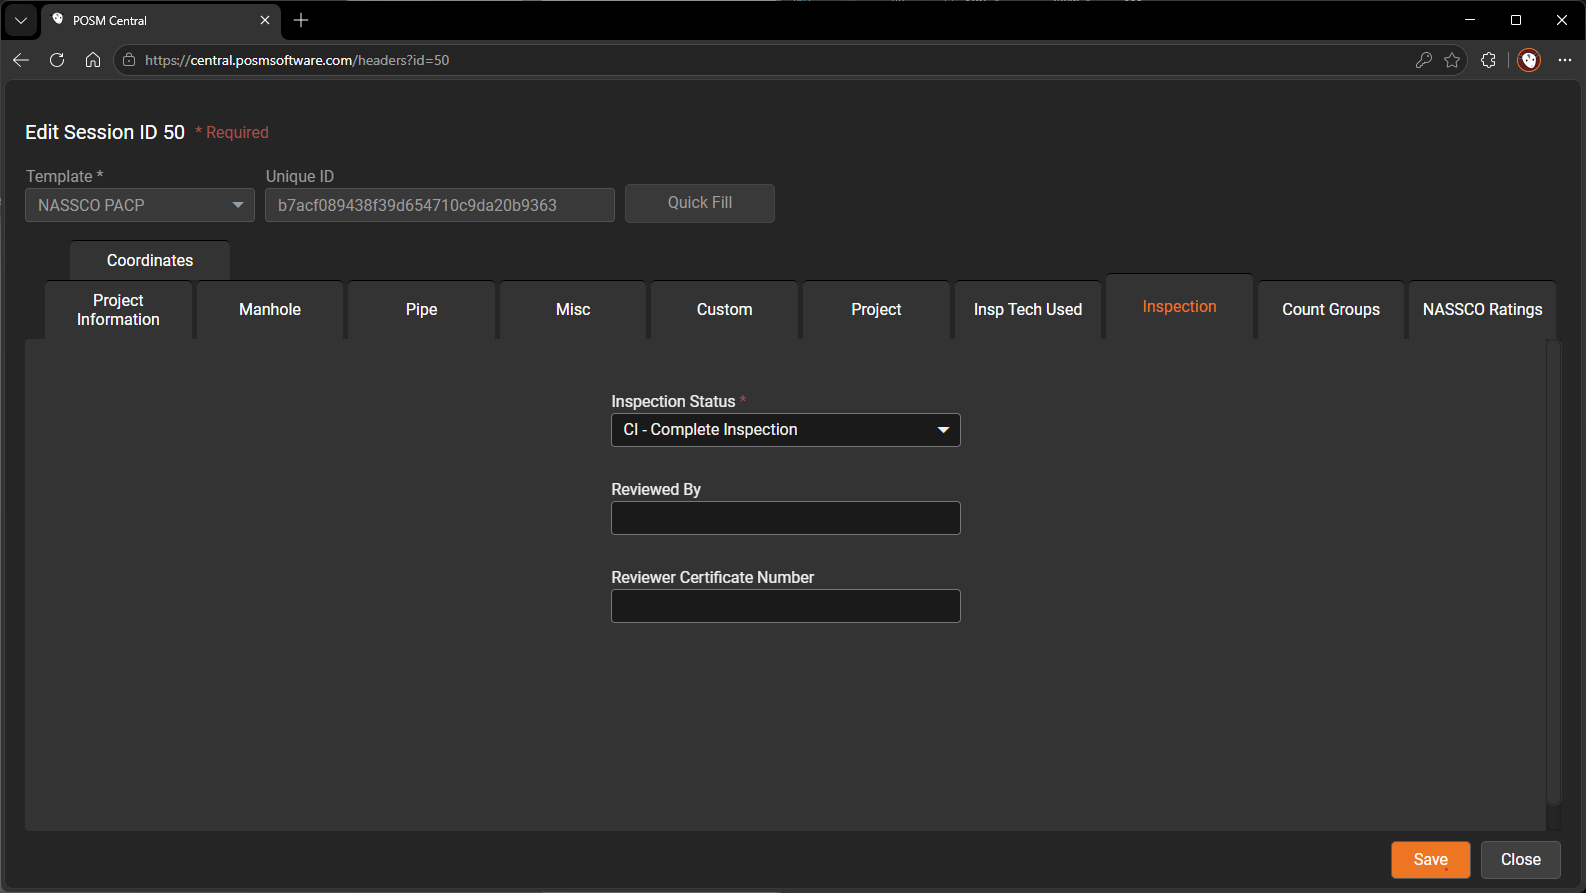
Review Header Information
The header editor may organize inspection information across several tabs.
Depending on the inspection template, header information may include:
- Project name
- Asset ID
- Start ID and End ID
- Inspection date
- Street or location
- Pipe material
- Pipe size and shape
- Inspection direction
- Upstream and downstream information
- Operator information
- Weather and flow conditions
- Required inspection fields
- Custom fields
Use the tabs to move between the available groups of header information.
Edit Header Information
Users with editing permission can edit header information immediately after opening the Header Editor.
Unlike Edit Observations, the Header Editor does not require you to select Begin Editing before making changes.
To update header information:
- Open the applicable header tab.
- Locate the field that needs to be changed.
- Enter or select the correct value.
- Review the remaining required fields.
- Select Save.
Changes are applied when Save is selected.
Required fields must be completed before the changes can be saved.
Note
The available fields and required information depend on the inspection template.
Close the Header Editor
Where you return after closing Edit Headers depends on where you opened it.
Opened From Session Management
If you selected Edit Headers from Session Management, clicking Close returns you to Session Management.
Opened From Edit Observations
If you selected the blue Edit Headers button while working in Edit Observations, clicking Close returns you to the Edit Observations screen.
Read-Only Access
Users without editing permission may still be able to open and review the inspection header.
In read-only mode:
- Header fields cannot be changed.
- Save controls may be disabled or unavailable.
- The user can move between tabs and review the recorded information.
Editing access depends on both the user’s role and the access level assigned to the inspection.
Header Information and Reports
Changes made in Edit Headers may also update information shown in inspection reports.
For example, header changes may appear on the:
- Title Page report
- Faults report
- Plot report
- Other applicable report pages
Learn about the Title Page report