Edit Inspection Observations
Use the observation editor to add, update, review, or remove inspection observations.
The observation editor includes the inspection video, observation list, observation details, observation images, and the pipe plot.
Open the Observation Editor
- Open Session Management.
- Select an inspection.
- Select Edit Observations.
- To make changes to observations or inspection video, select the green Begin Editing button.
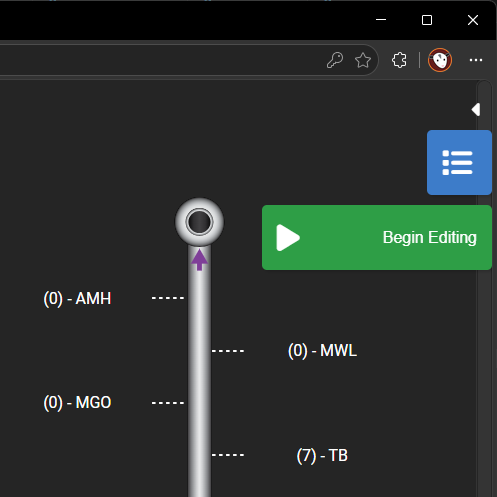
The Edit Observations workspace can also be used without entering Edit Mode to review the inspection video, observations, observation images, and pipe plot.
Users without editing permission can review the available inspection information in read-only mode.
Open Edit Headers From Edit Observations
The Edit Observations workspace includes a blue Edit Headers button.
Select Edit Headers when you need to review or change the inspection's header information while working with observations.
The Header Editor can be used to review or change information such as:
- Project name
- Asset information
- Pipe information
- Location information
- Inspection conditions
- Other header fields available for the inspection template
Users with editing permission can make header changes and select Save.
When you select Close in the Header Editor, POSM Central returns you to the Edit Observations screen.
Note
The Header Editor does not require Begin Editing.
Users with editing permission can make header changes directly and select Save.
Begin Editing before changing observations
Select Begin Editing before adding, editing, or deleting observations or managing inspection video.
Edit an Observation
To edit an existing observation:
- Locate the observation in the observation list.
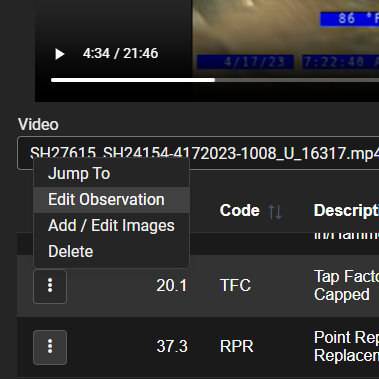
- Select the three-dot action menu beside the observation.
- Select the available edit option.
- Update the permitted fields.
- Select Save.
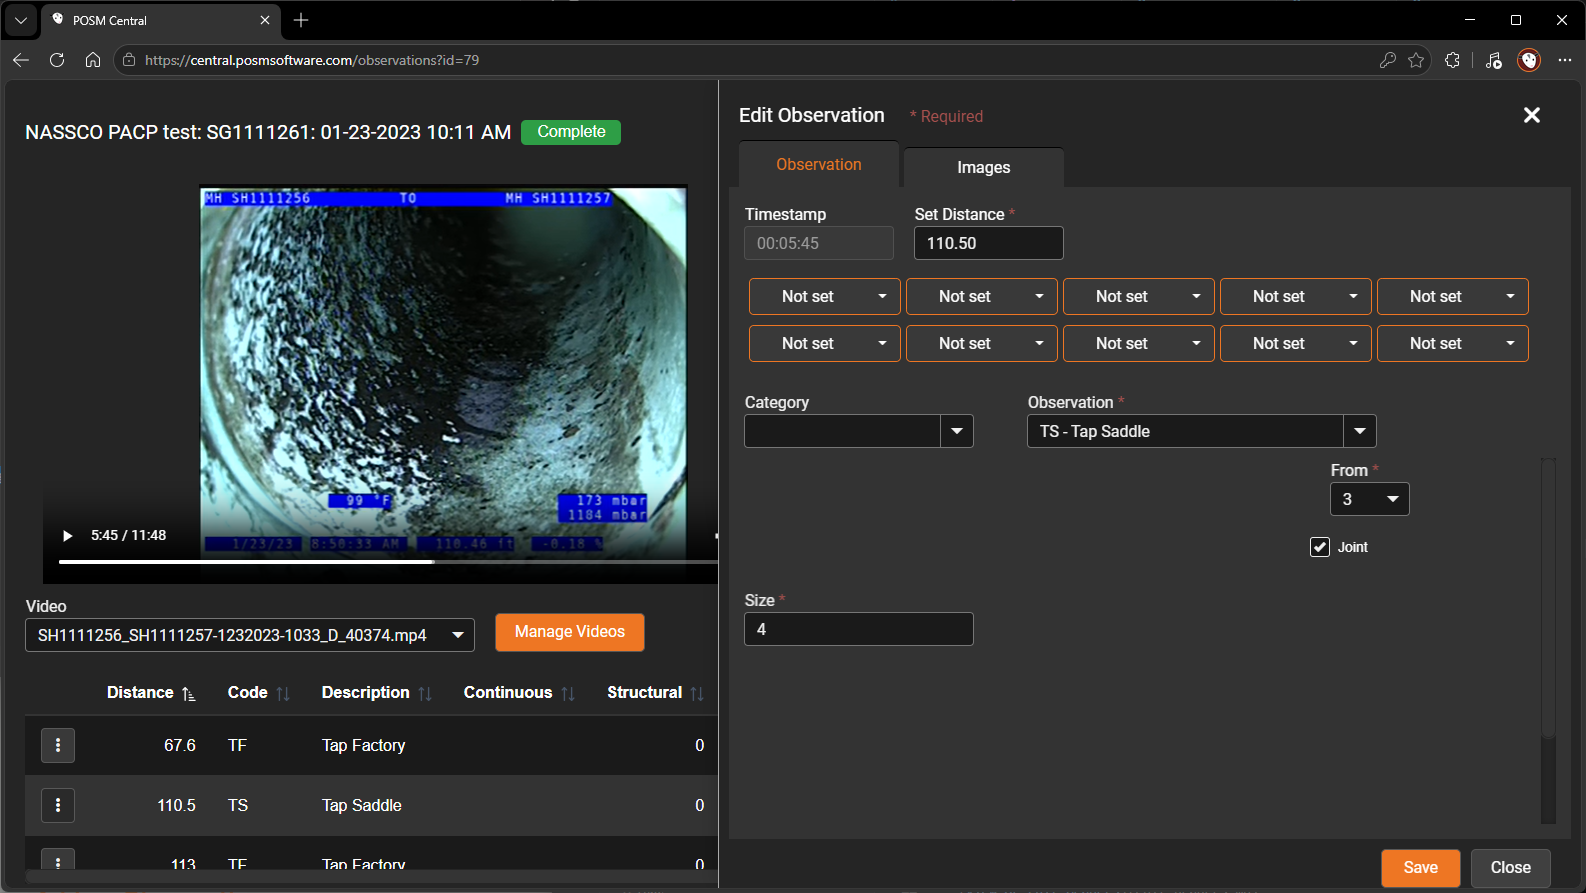
The fields shown depend on the observation code and inspection template.
Add an Observation
To add a new observation:
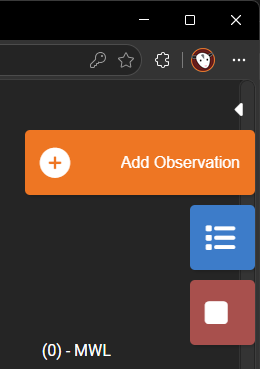
- Select Add Observation.
- Choose the observation code.
- Complete the required fields.
- Review any optional fields.
- Select Save.
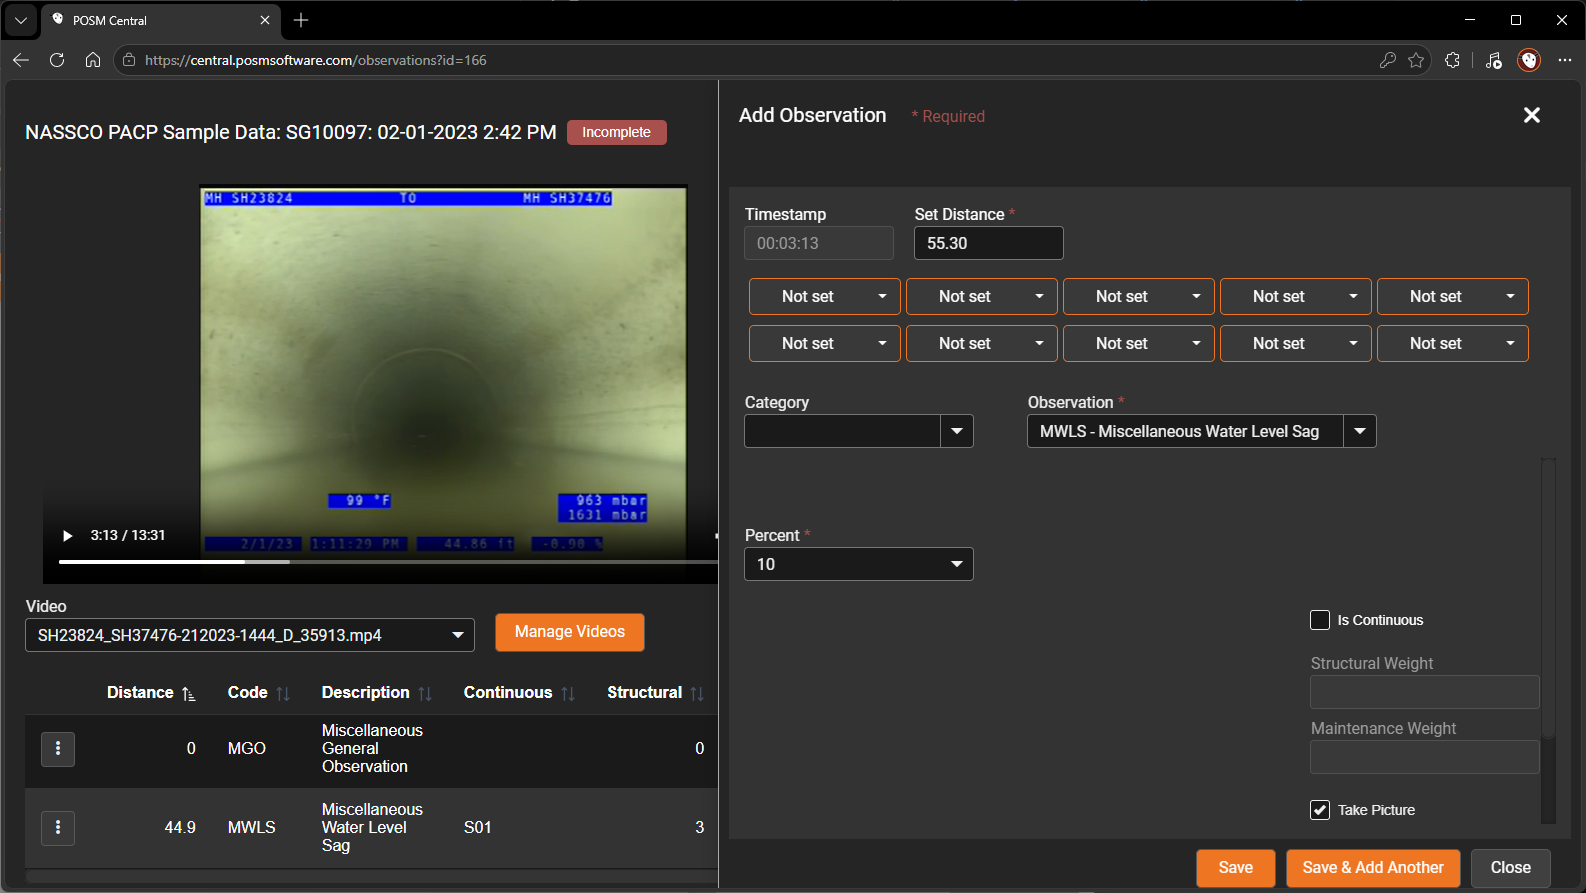
When an observation is added through the normal workflow, POSM Central automatically captures an image from the video and associates it with the observation.
Jump to an Observation
Use Jump To to move the inspection video directly to the moment associated with an observation.
Jump from the Observation List
- Locate the observation.
- Select the three-dot action menu beside it.
- Select Jump To.
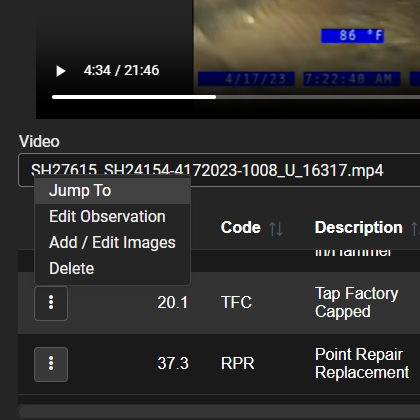
The video advances to the recorded time for that observation.
Jump from the Pipe Plot
You can also jump to an observation from the pipe plot on the right side of the video window.
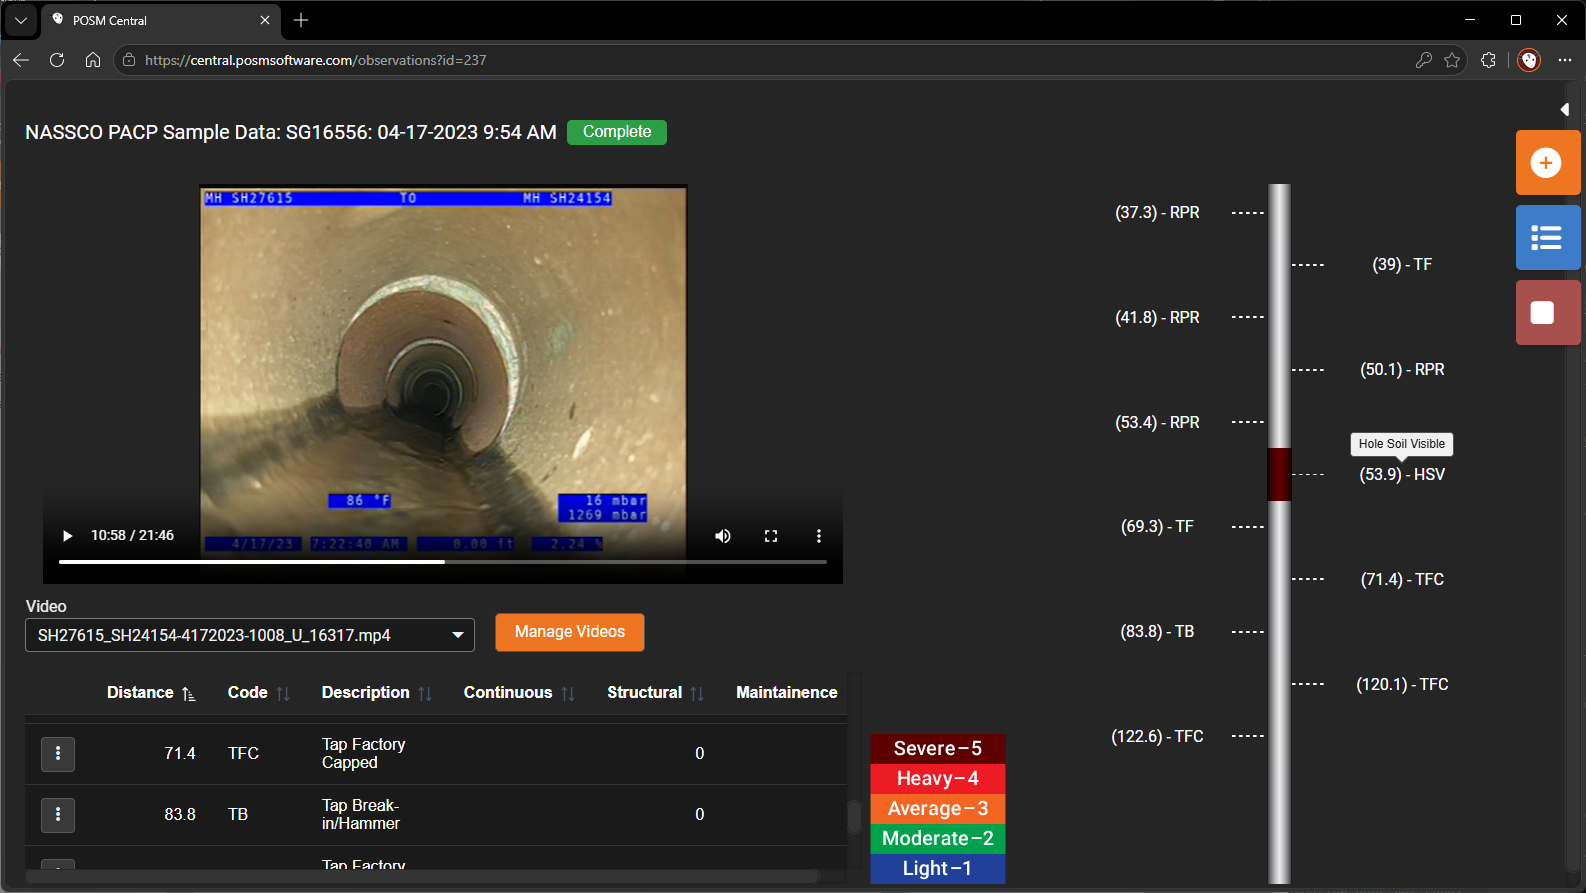
Select either:
- The observation code
- The footage or distance notation
The video advances to the corresponding observation.
Tip
Use the pipe plot when you want to move quickly between observations based on their location in the pipe.
Add or Edit Observation Images
Use Add / Edit Images when an observation image needs to be uploaded, replaced, captured manually, or deleted.
- Locate the observation.
- Select the three-dot action menu beside it.
- Select Add / Edit Images.
- Use the image window to manage the observation image.
The image window may allow you to:
- Upload an image from your computer
- Capture an image from the inspection video
- Delete an existing observation image
- Review the image associated with the observation
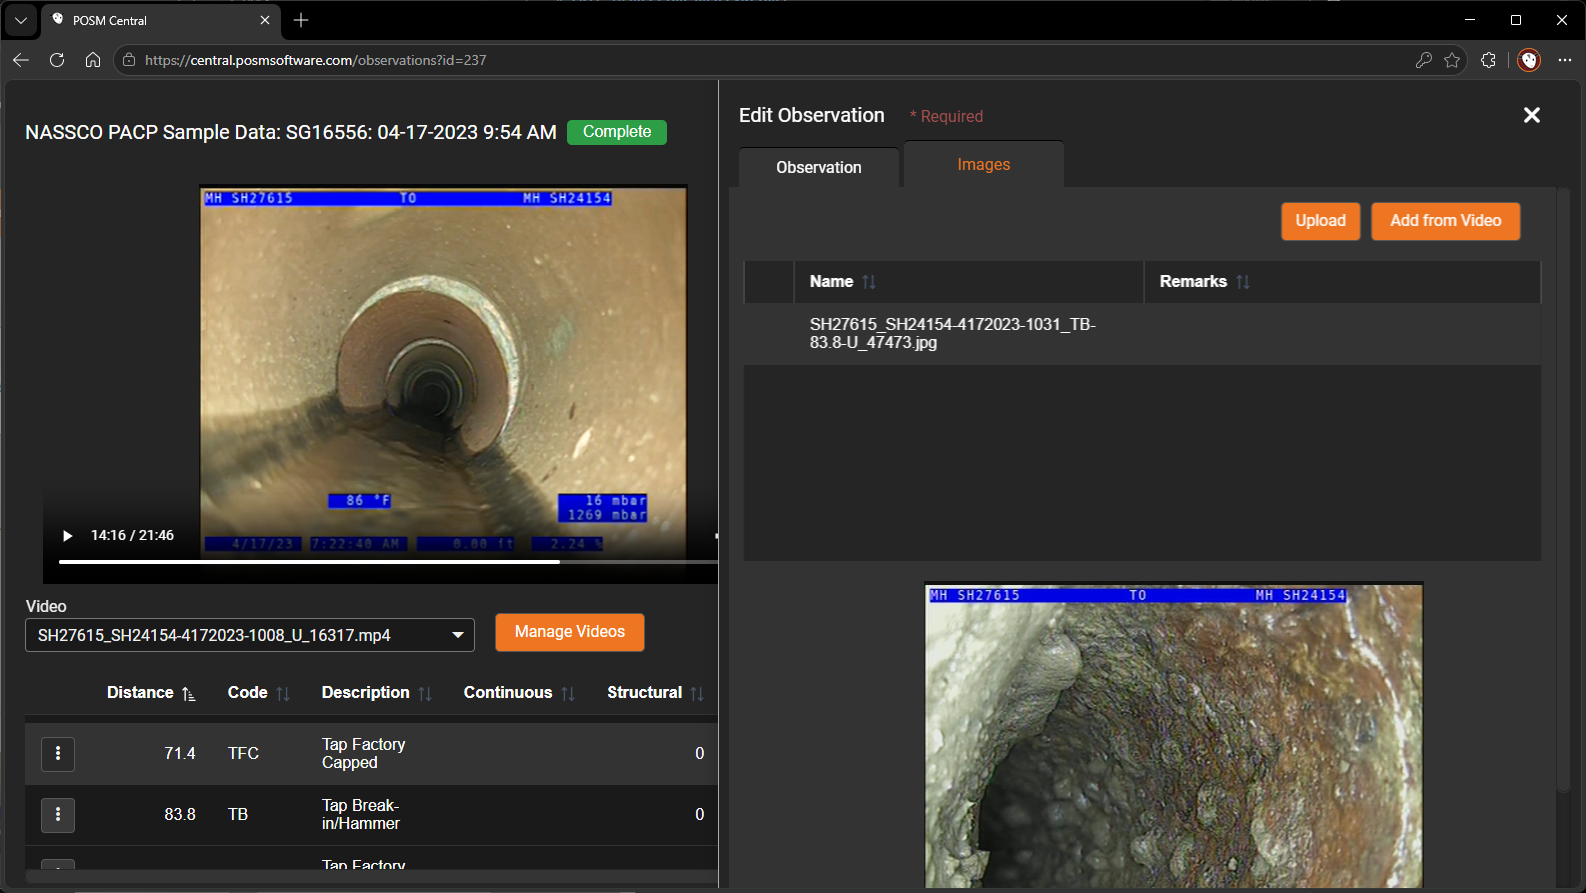
This action is mainly used for manually adding or correcting images. Observations created through the normal Add Observation workflow automatically receive an image captured from the video.
Delete an Observation
Deleting an observation removes it from the inspection.
- Locate the observation.
- Select the three-dot action menu beside it.
- Select Delete.
- Confirm the deletion.
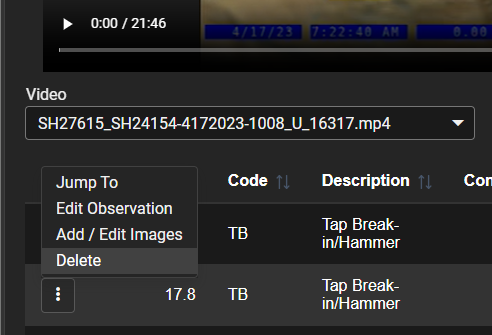
Warning
Deleting an observation may affect inspection reports, ratings, validation results, and the pipe plot. Confirm that the correct observation is selected before deleting it.
Save Observation Changes
After adding or editing an observation, select Save in the observation window.
Required fields must be completed before the observation can be saved.
If the observation does not save:
- Review the required fields.
- Confirm that the entered values are valid.
- Confirm that your account has editing permission.
- Confirm that the inspection is not limited to view-only access.
End Editing
When all observation and video changes are complete, select End Editing.
POSM Central may ask whether the inspection is complete.
Choose the appropriate response based on the current inspection status.
Ending Edit Mode returns the observation workspace to its normal viewing state.
Permissions
Observation editing requires the appropriate user role and access level.
Users can edit observations when:
- Their role includes editing permission
- Their organization owns the inspection, or
- The inspection was shared with Full Edit Access
View-only and download-only users cannot edit observations.